
Email Drip Sequence
An email drip sequence helps nurture leads by sending automated emails over time, based on specific triggers. Follow these steps to create a customized email drip sequence tailored to your flight school’s needs:
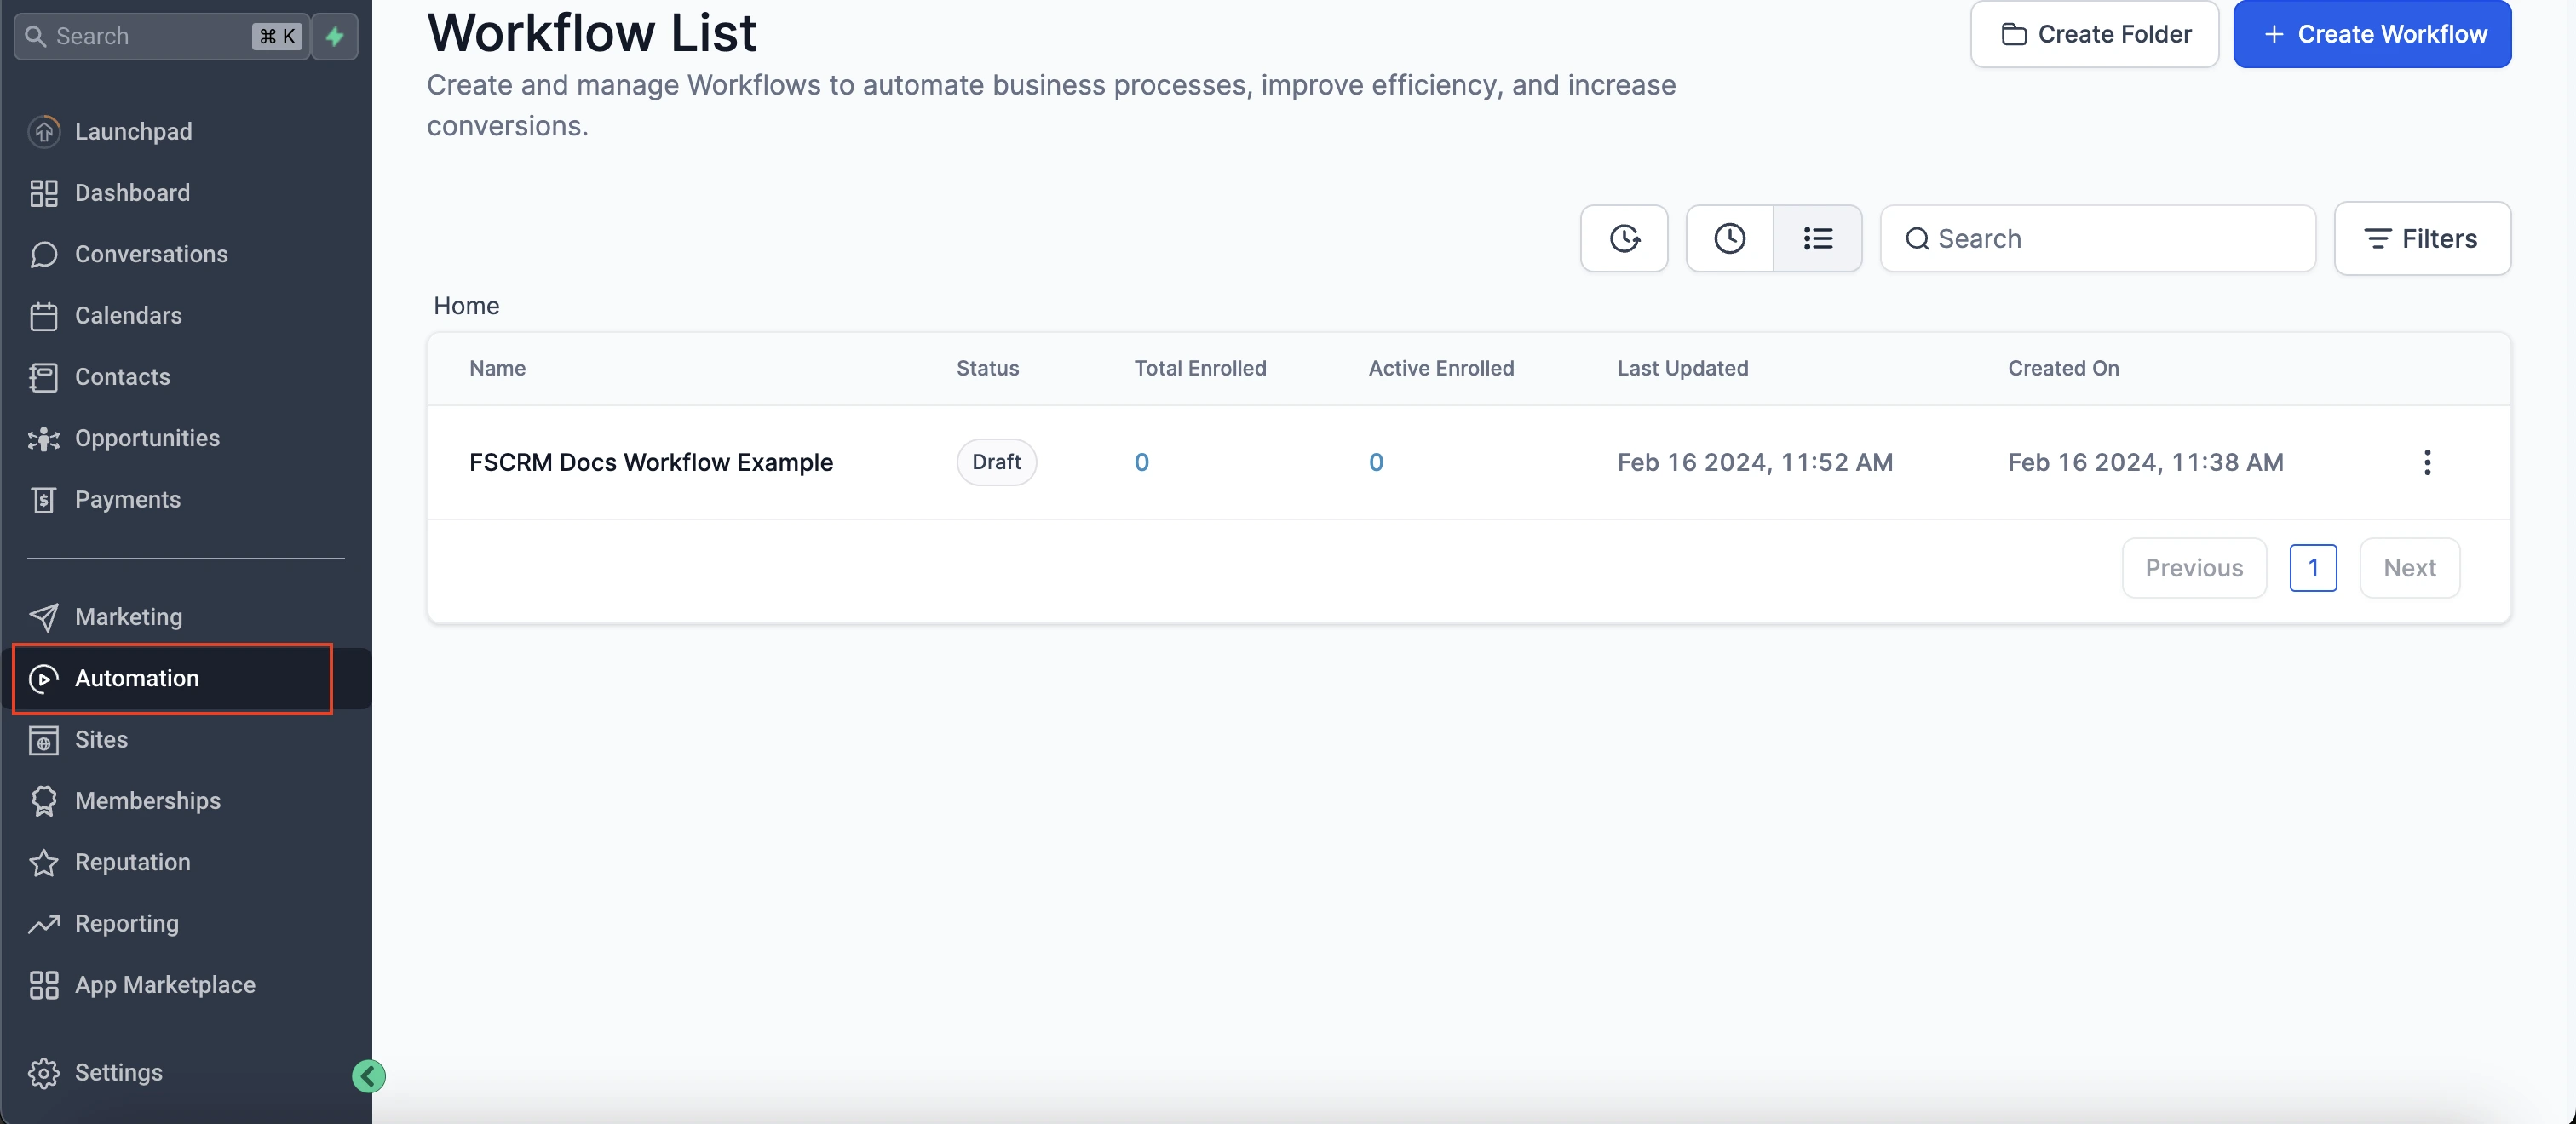
1. Navigate to Automations
Start by accessing the “Automations” tab on the sidebar menu of your FSCRM dashboard.
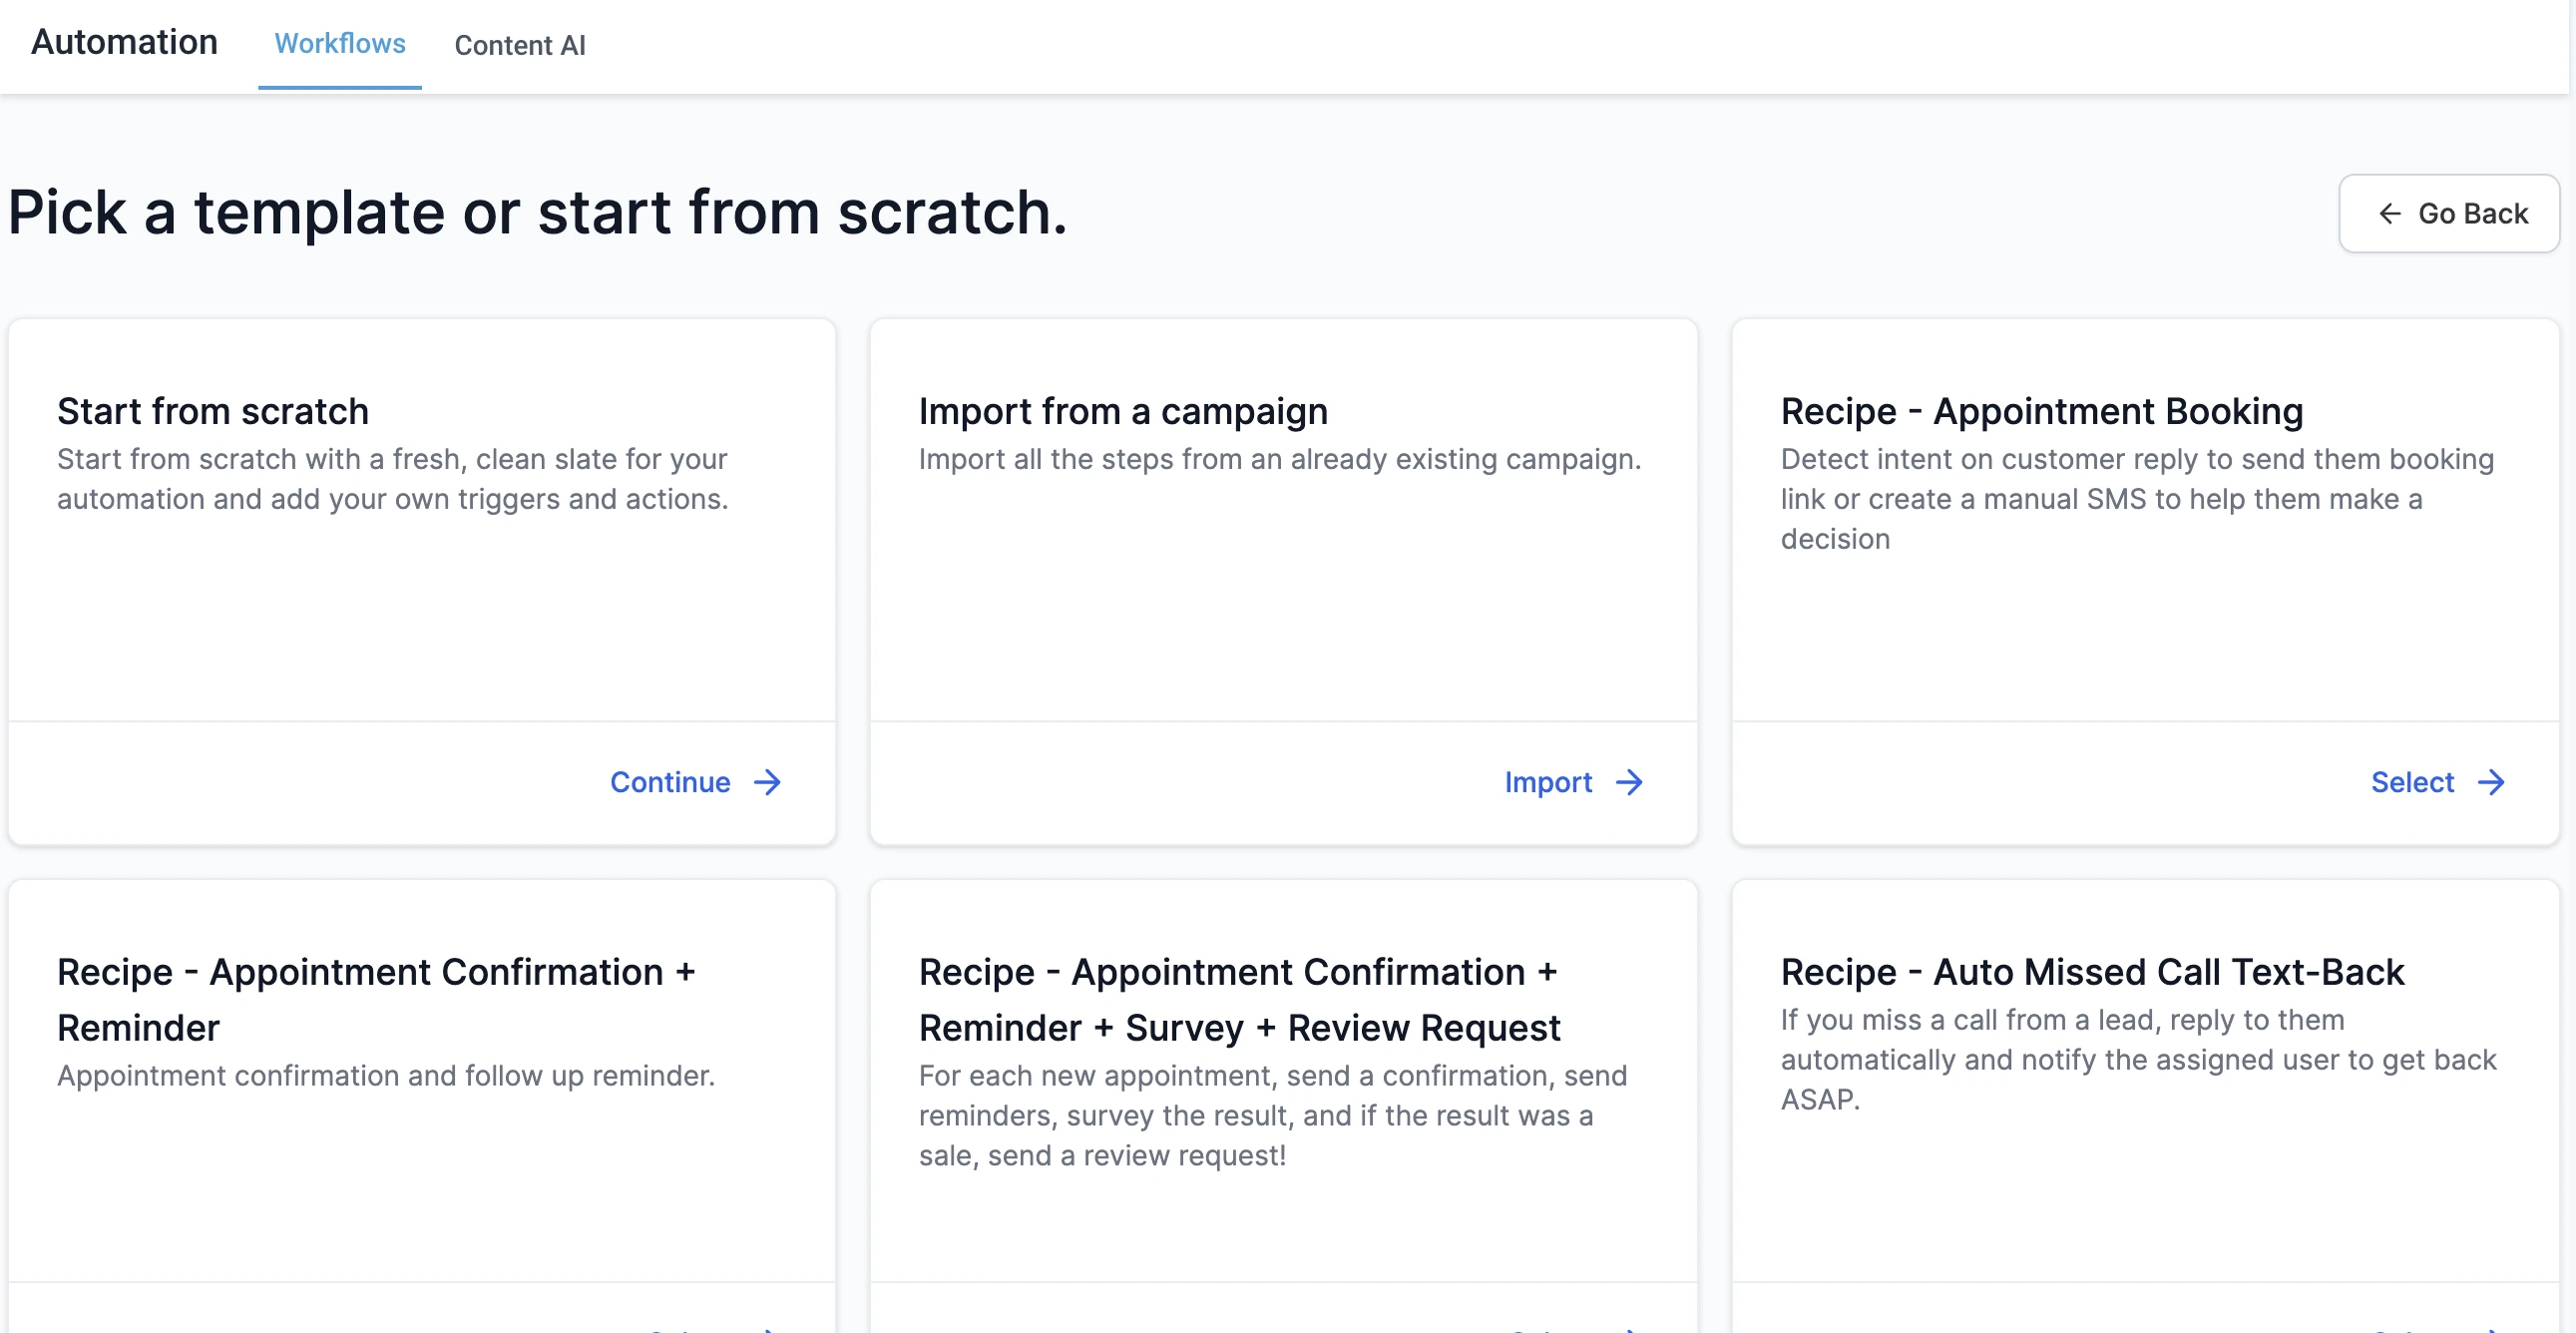
2. Create a New Workflow
Click on “Create Workflow” to initiate the process of building your email drip sequence.
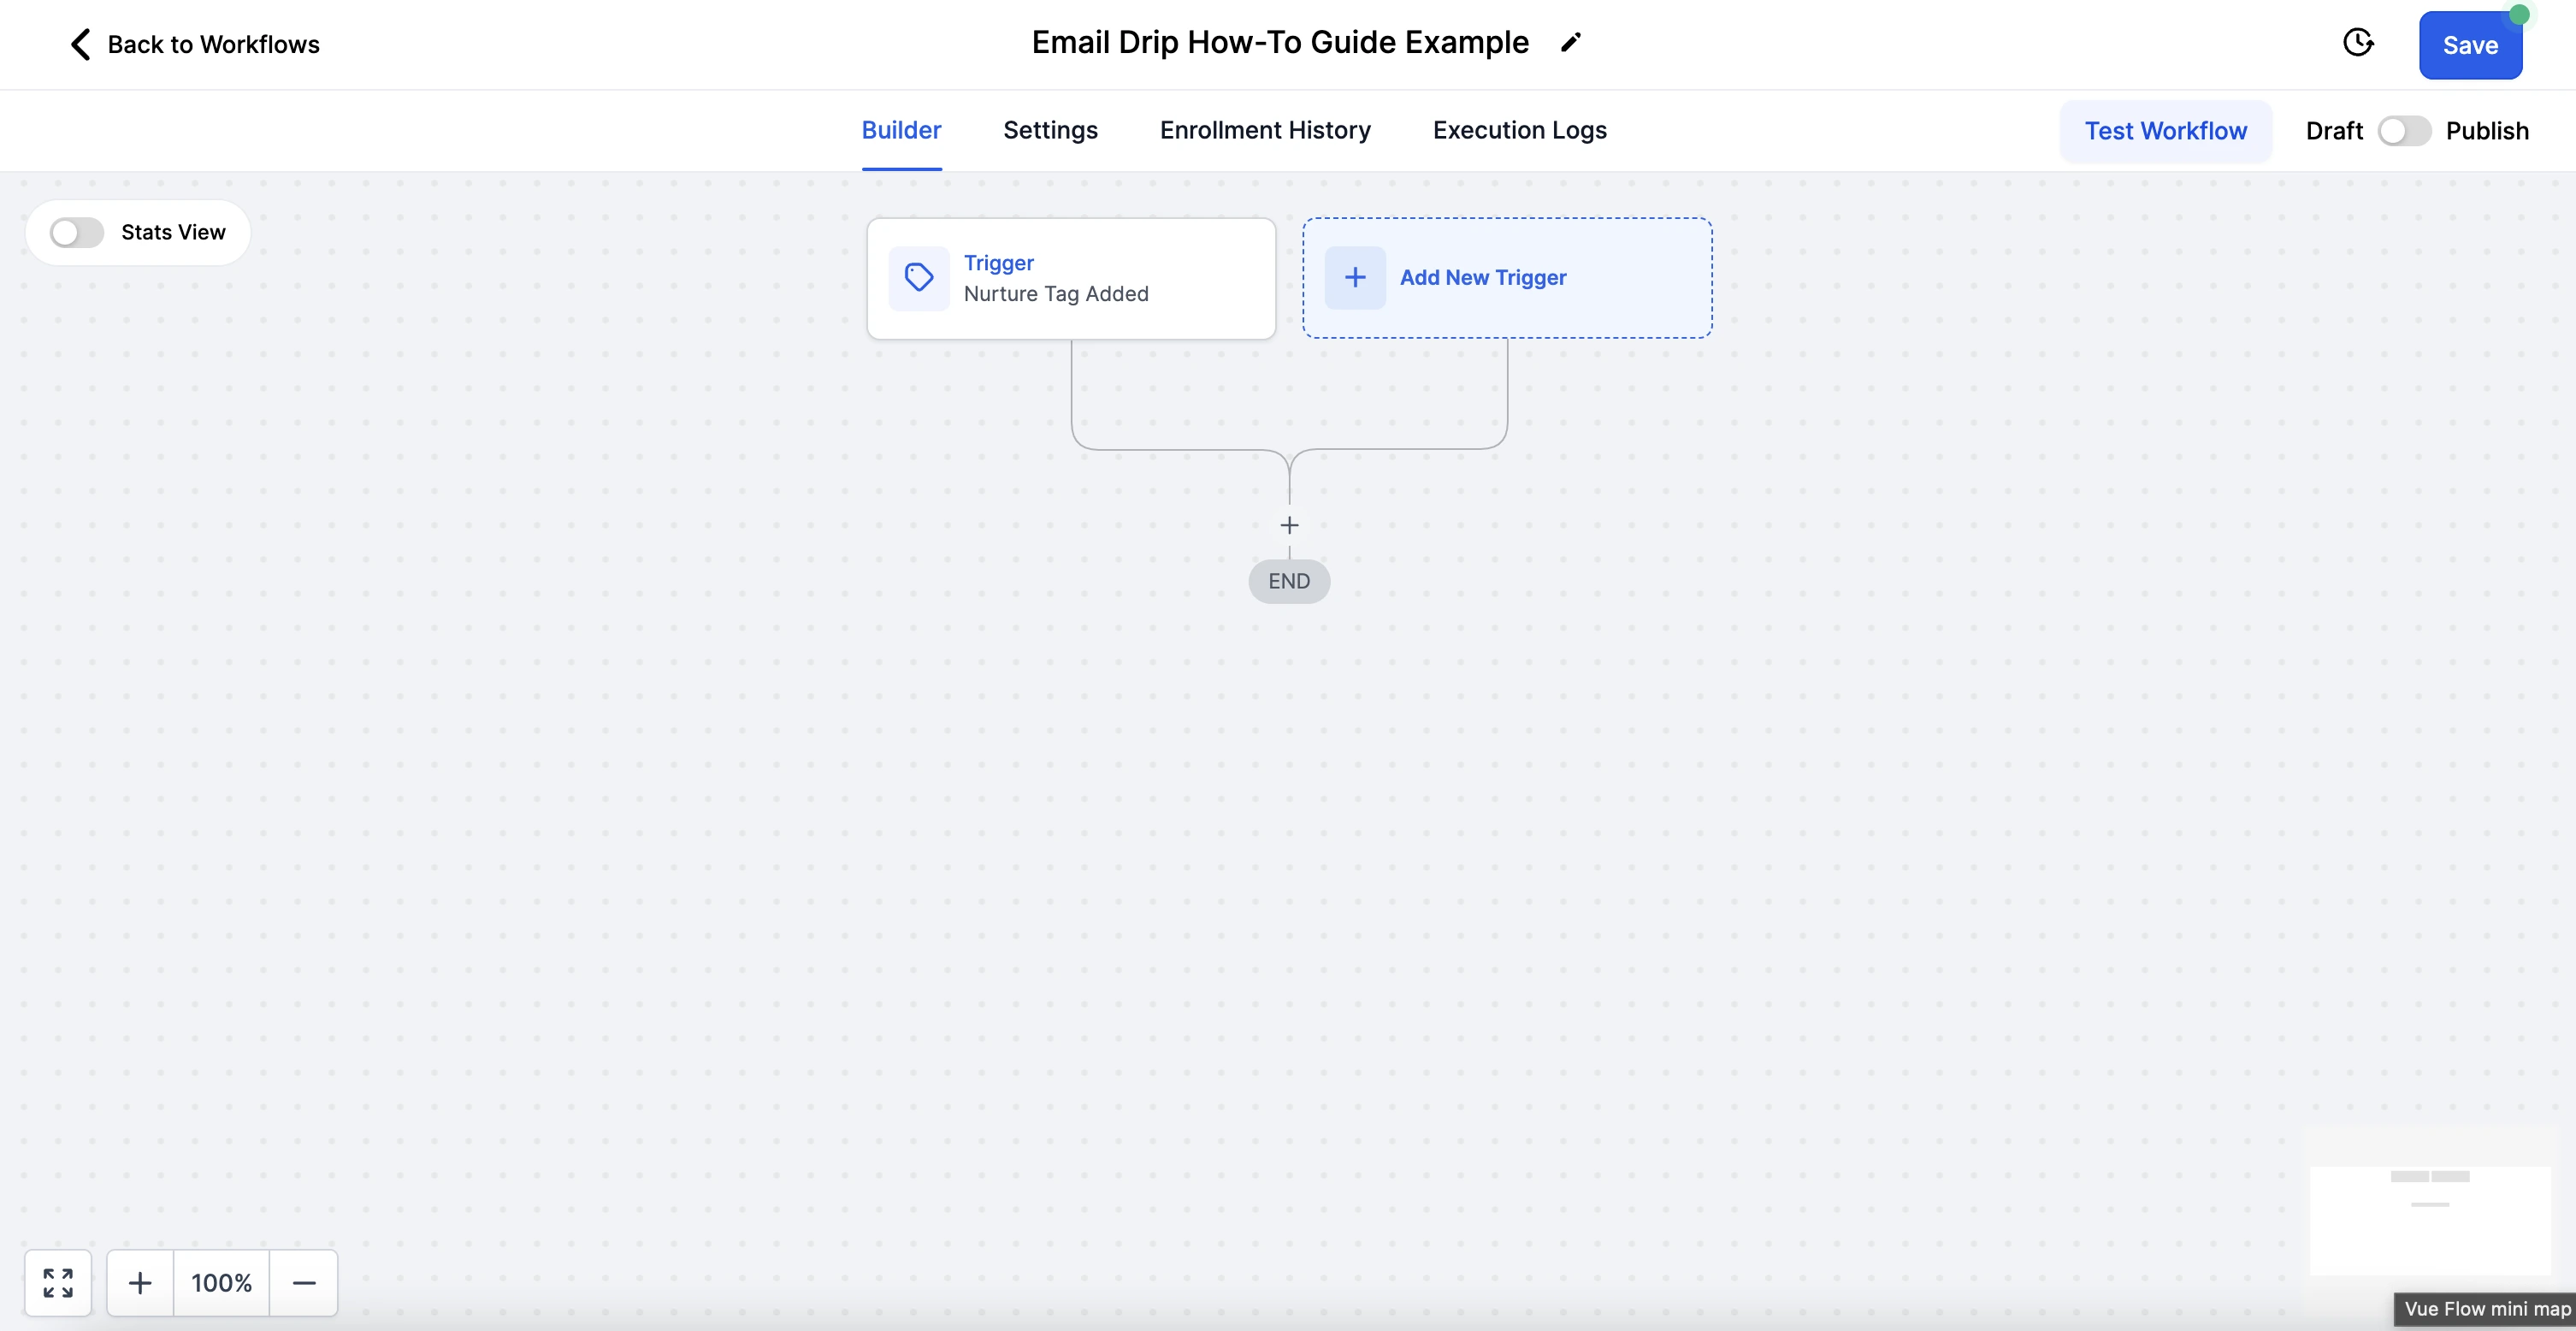
3. Set a Trigger
Choose a trigger that will start the email drip sequence. Common triggers include a form submission or a specific event, such as a lead signing up for more information.
4. Design Your First Email
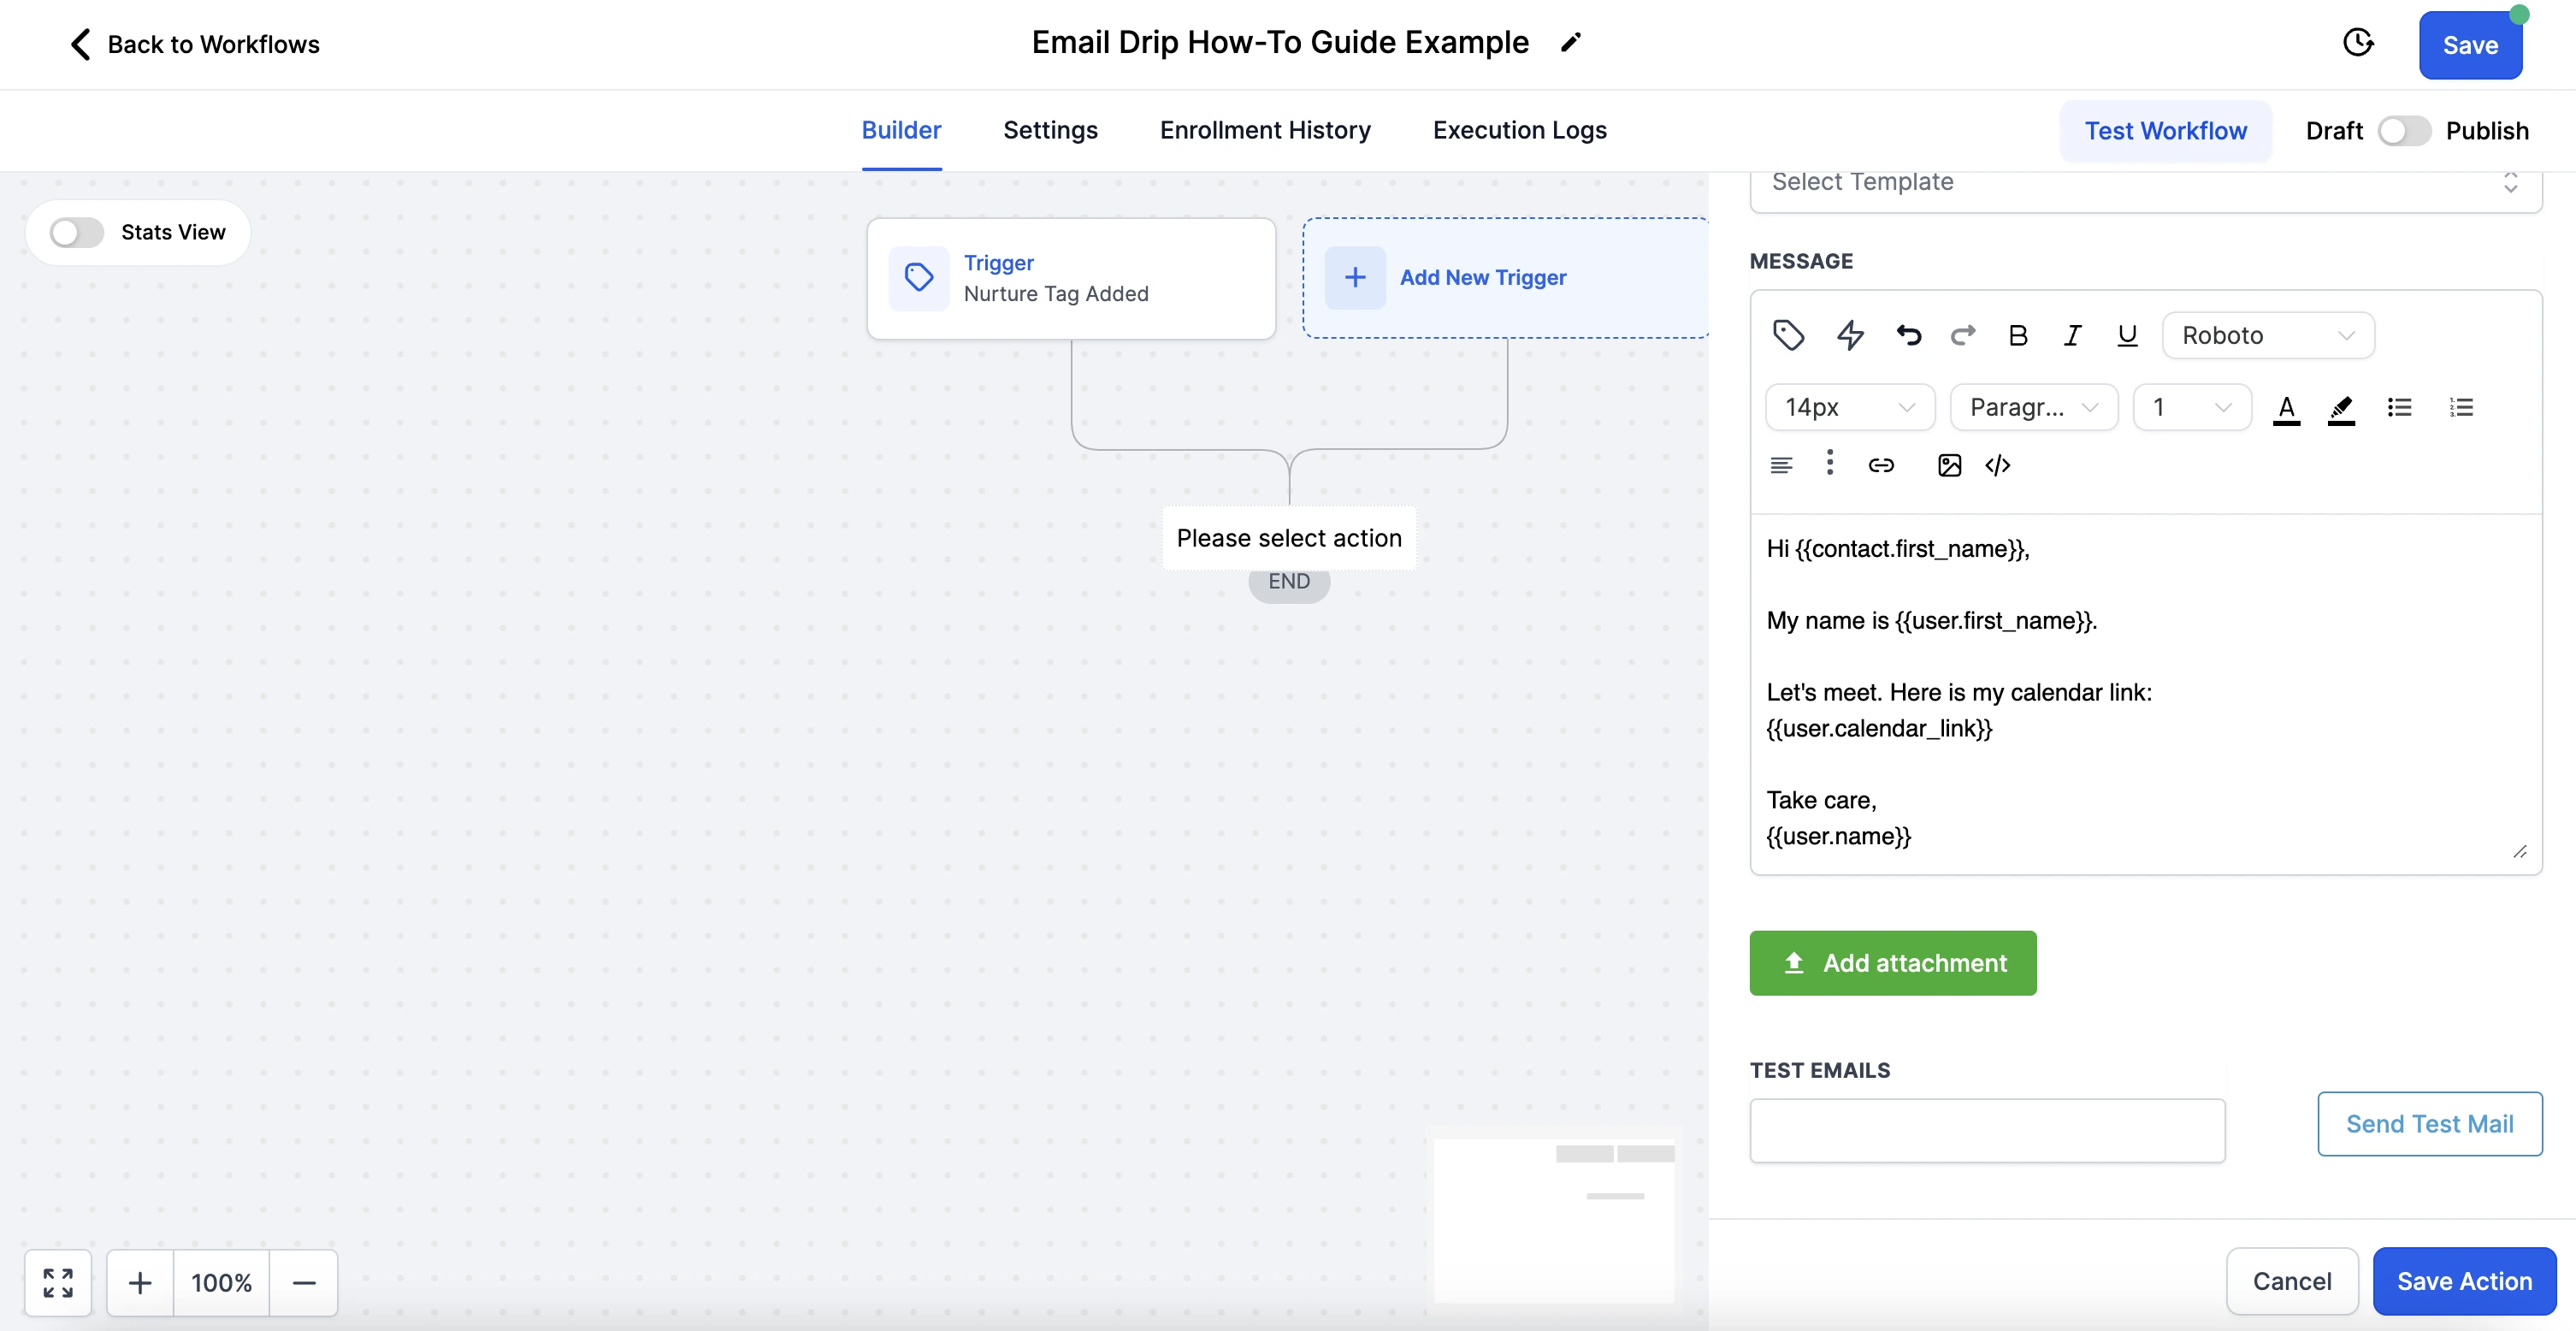
Add an email action to the workflow. Craft your email content with engaging visuals and compelling text to captivate your audience.
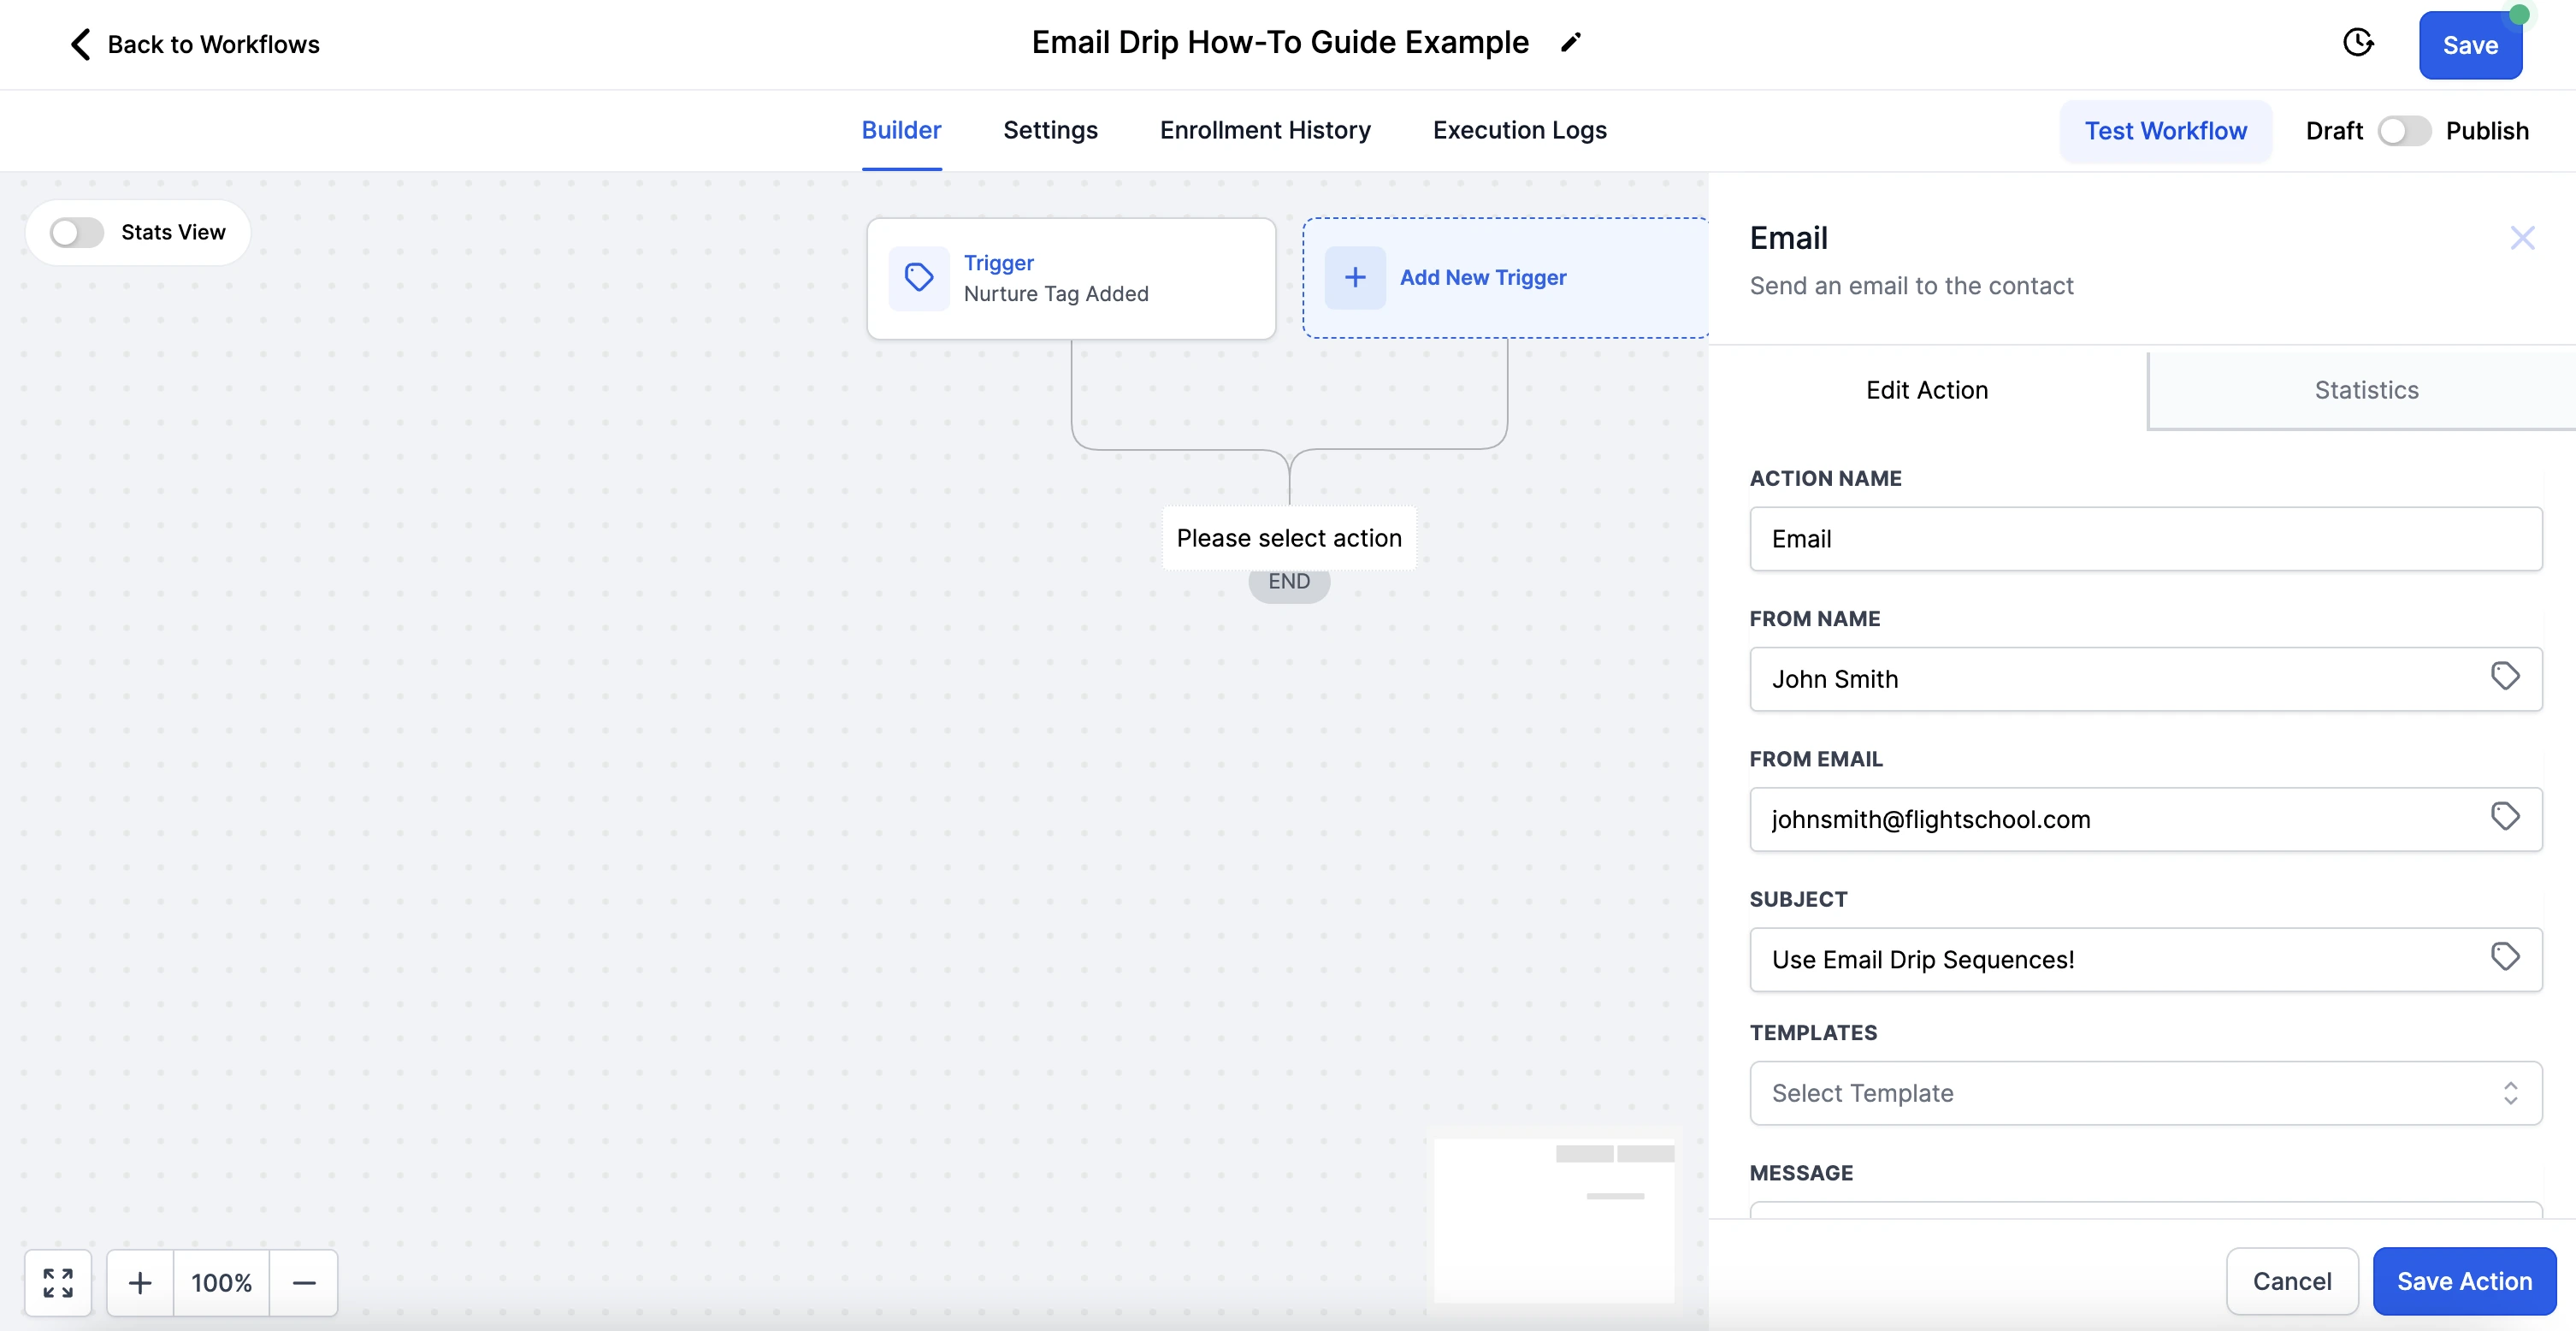
5. Personalize with Dynamic Fields
Enhance your emails by using dynamic fields, which allow you to personalize messages with details like the recipient’s name or specific interests.
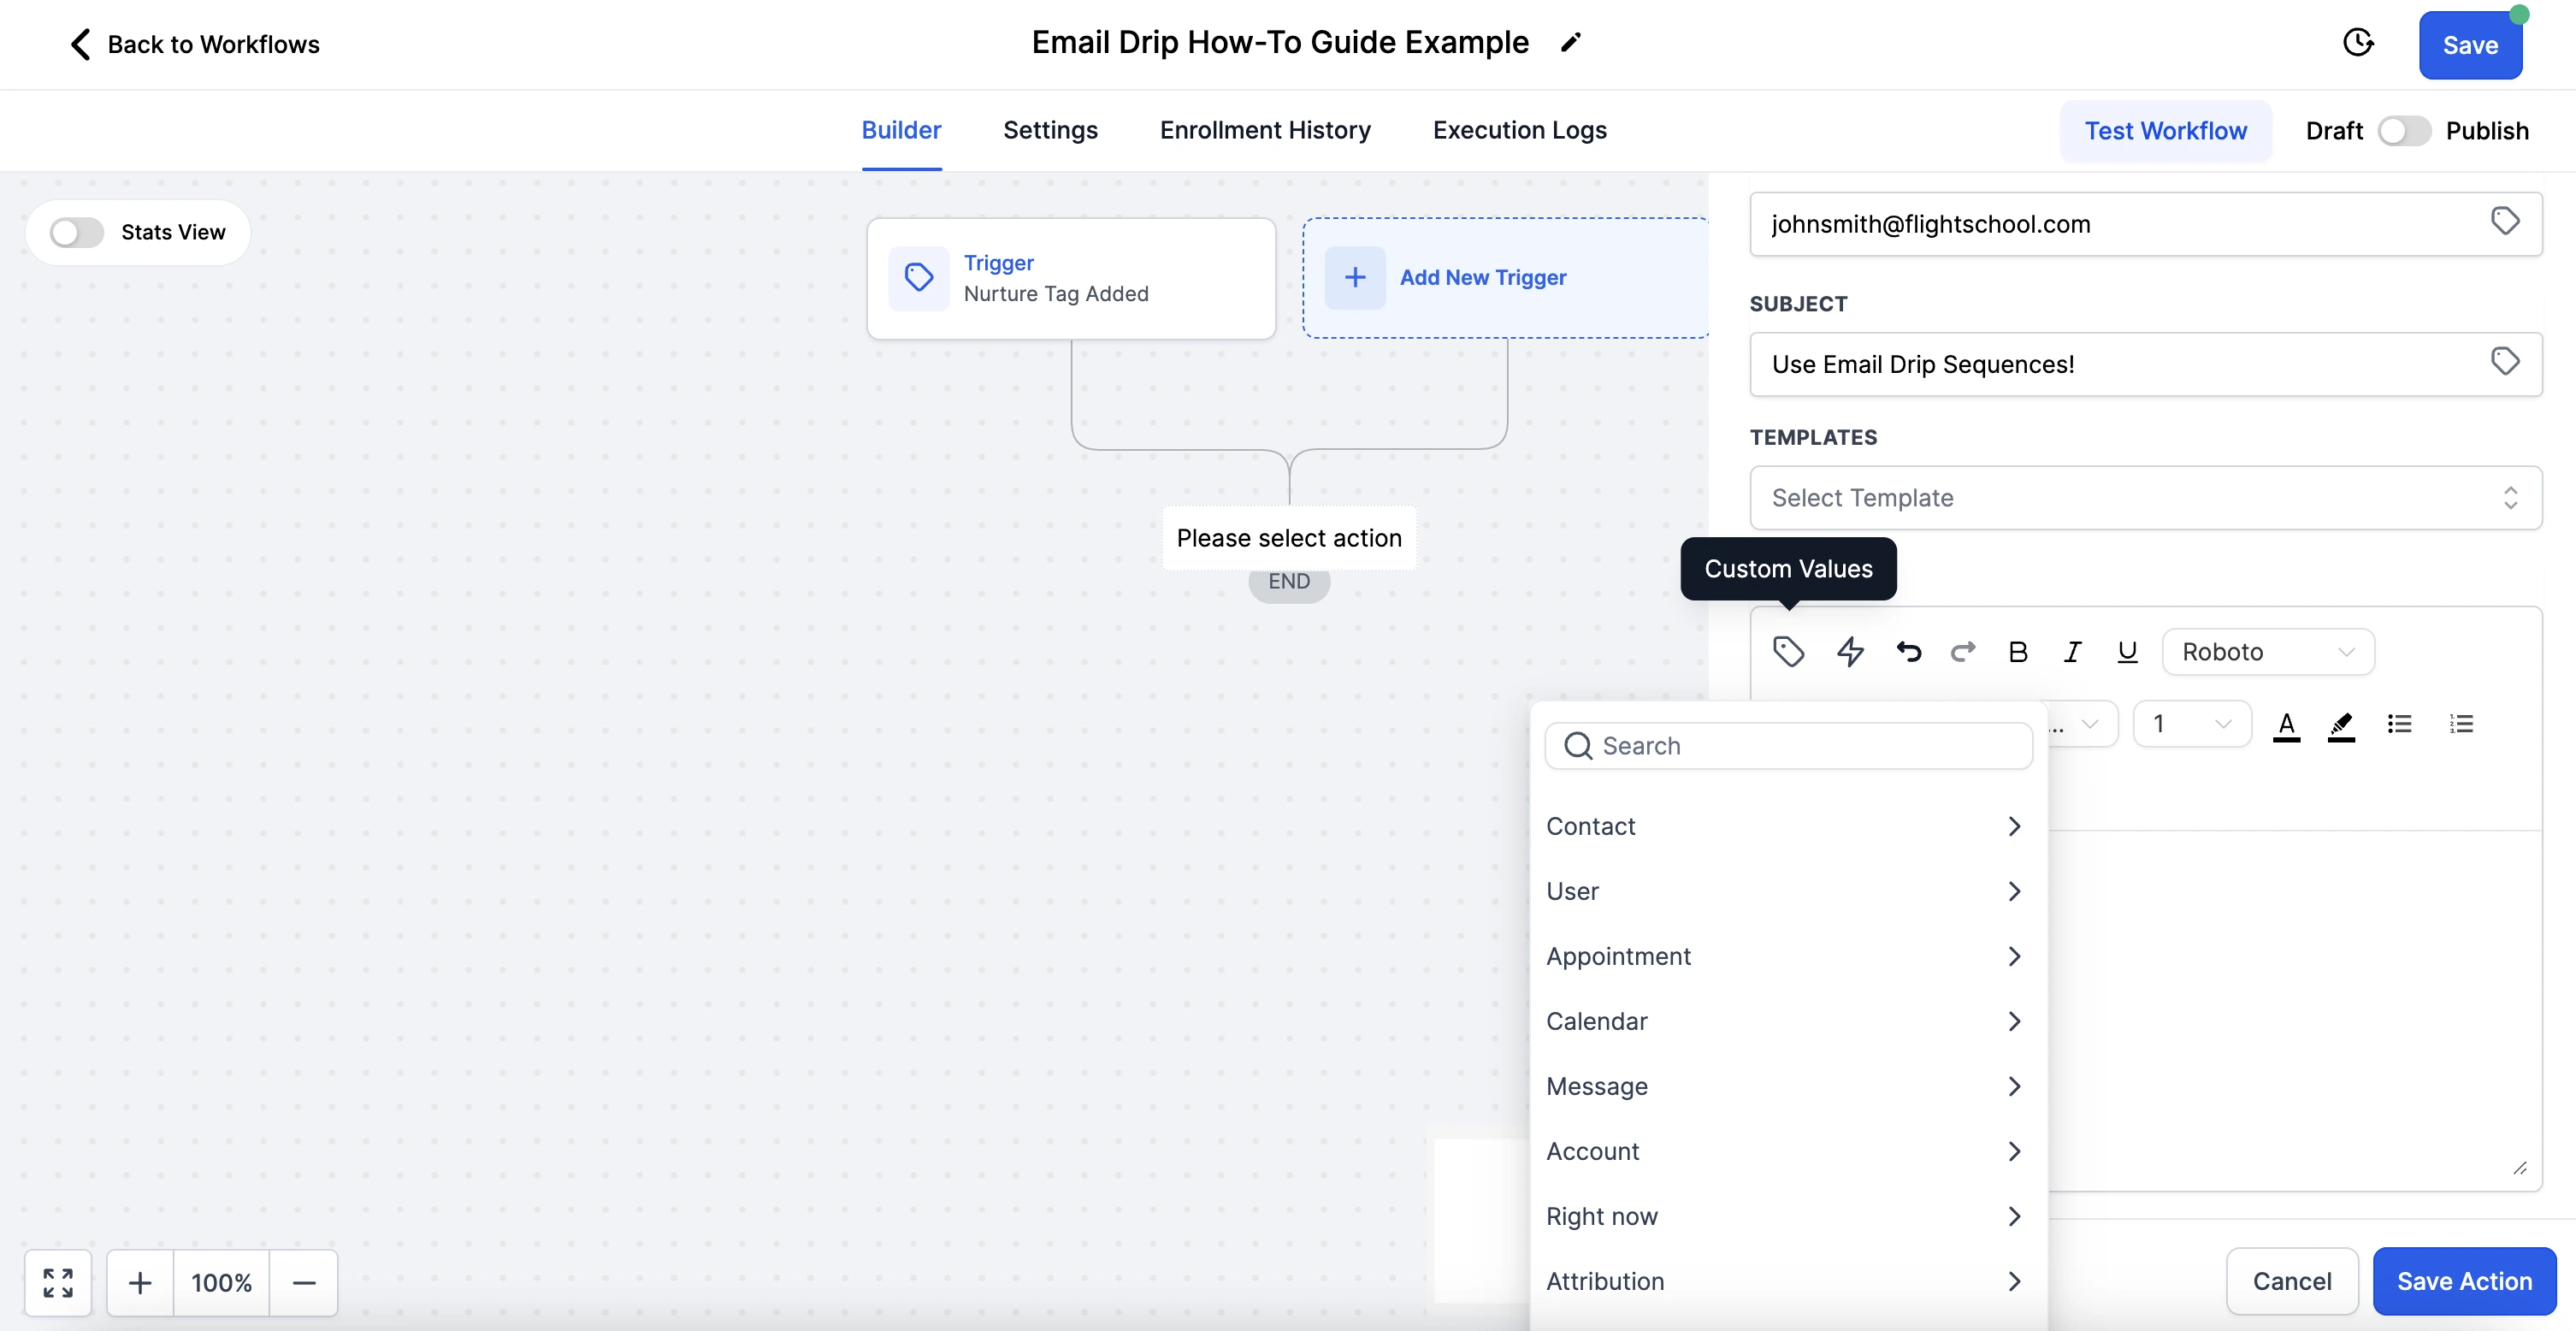
6. Save Your Email
After composing your email, make sure to save it to preserve your content and settings.
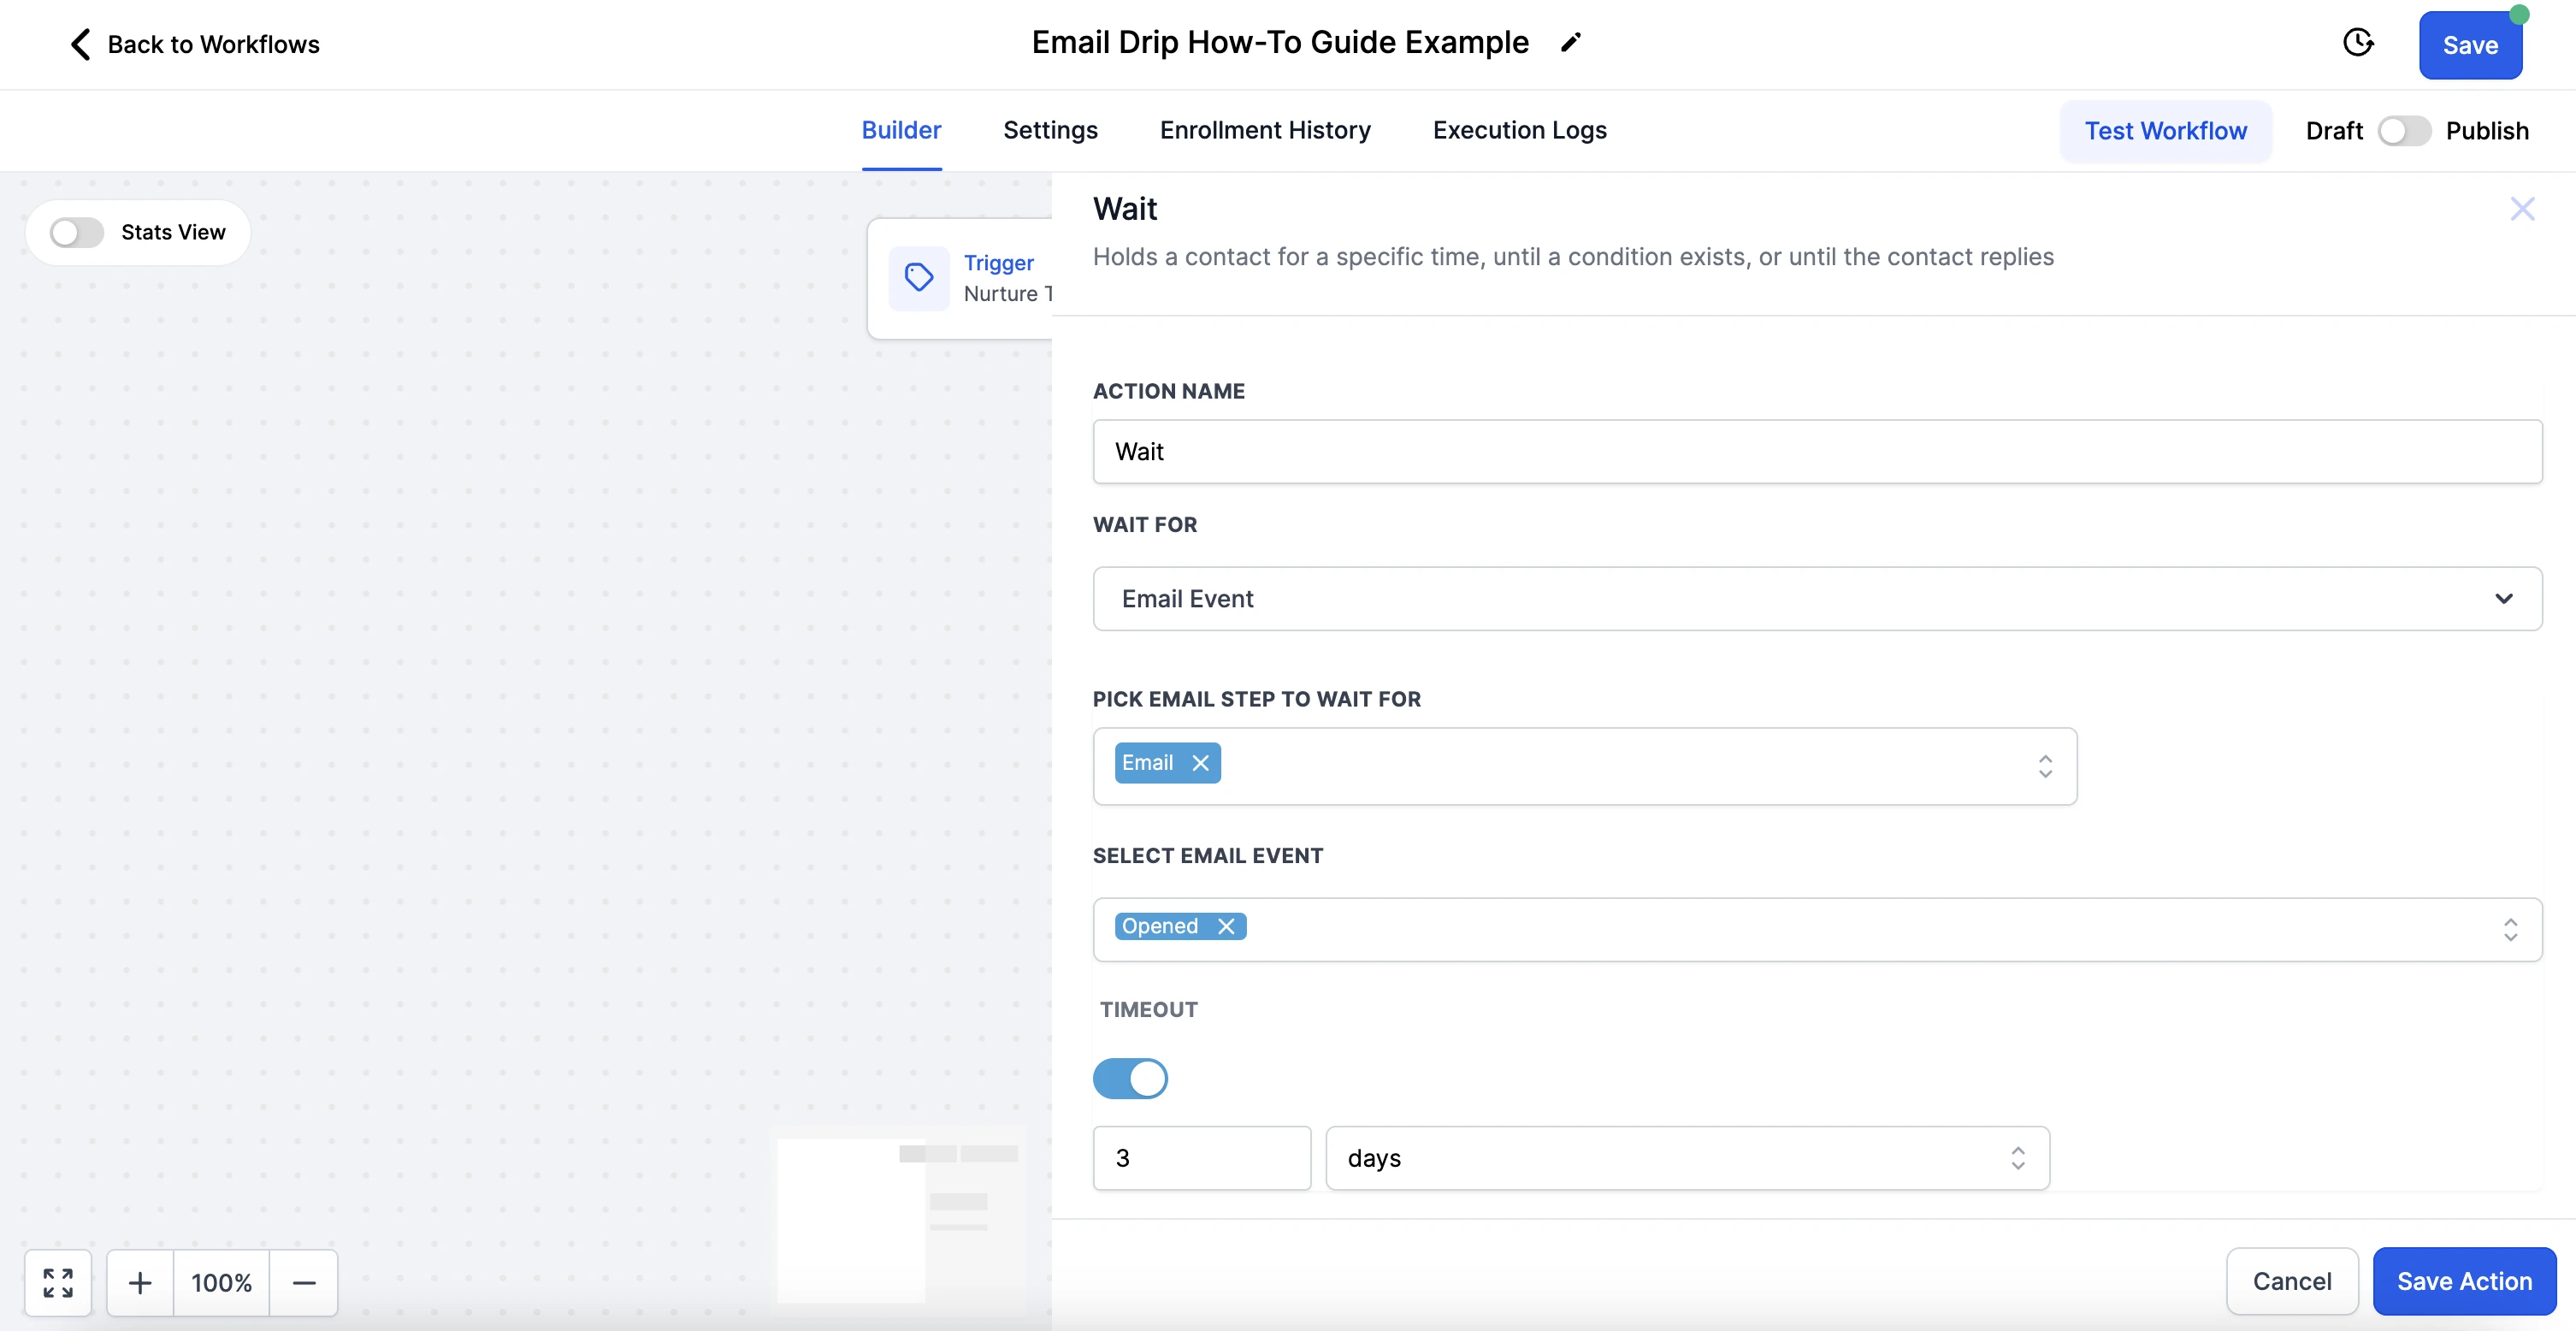
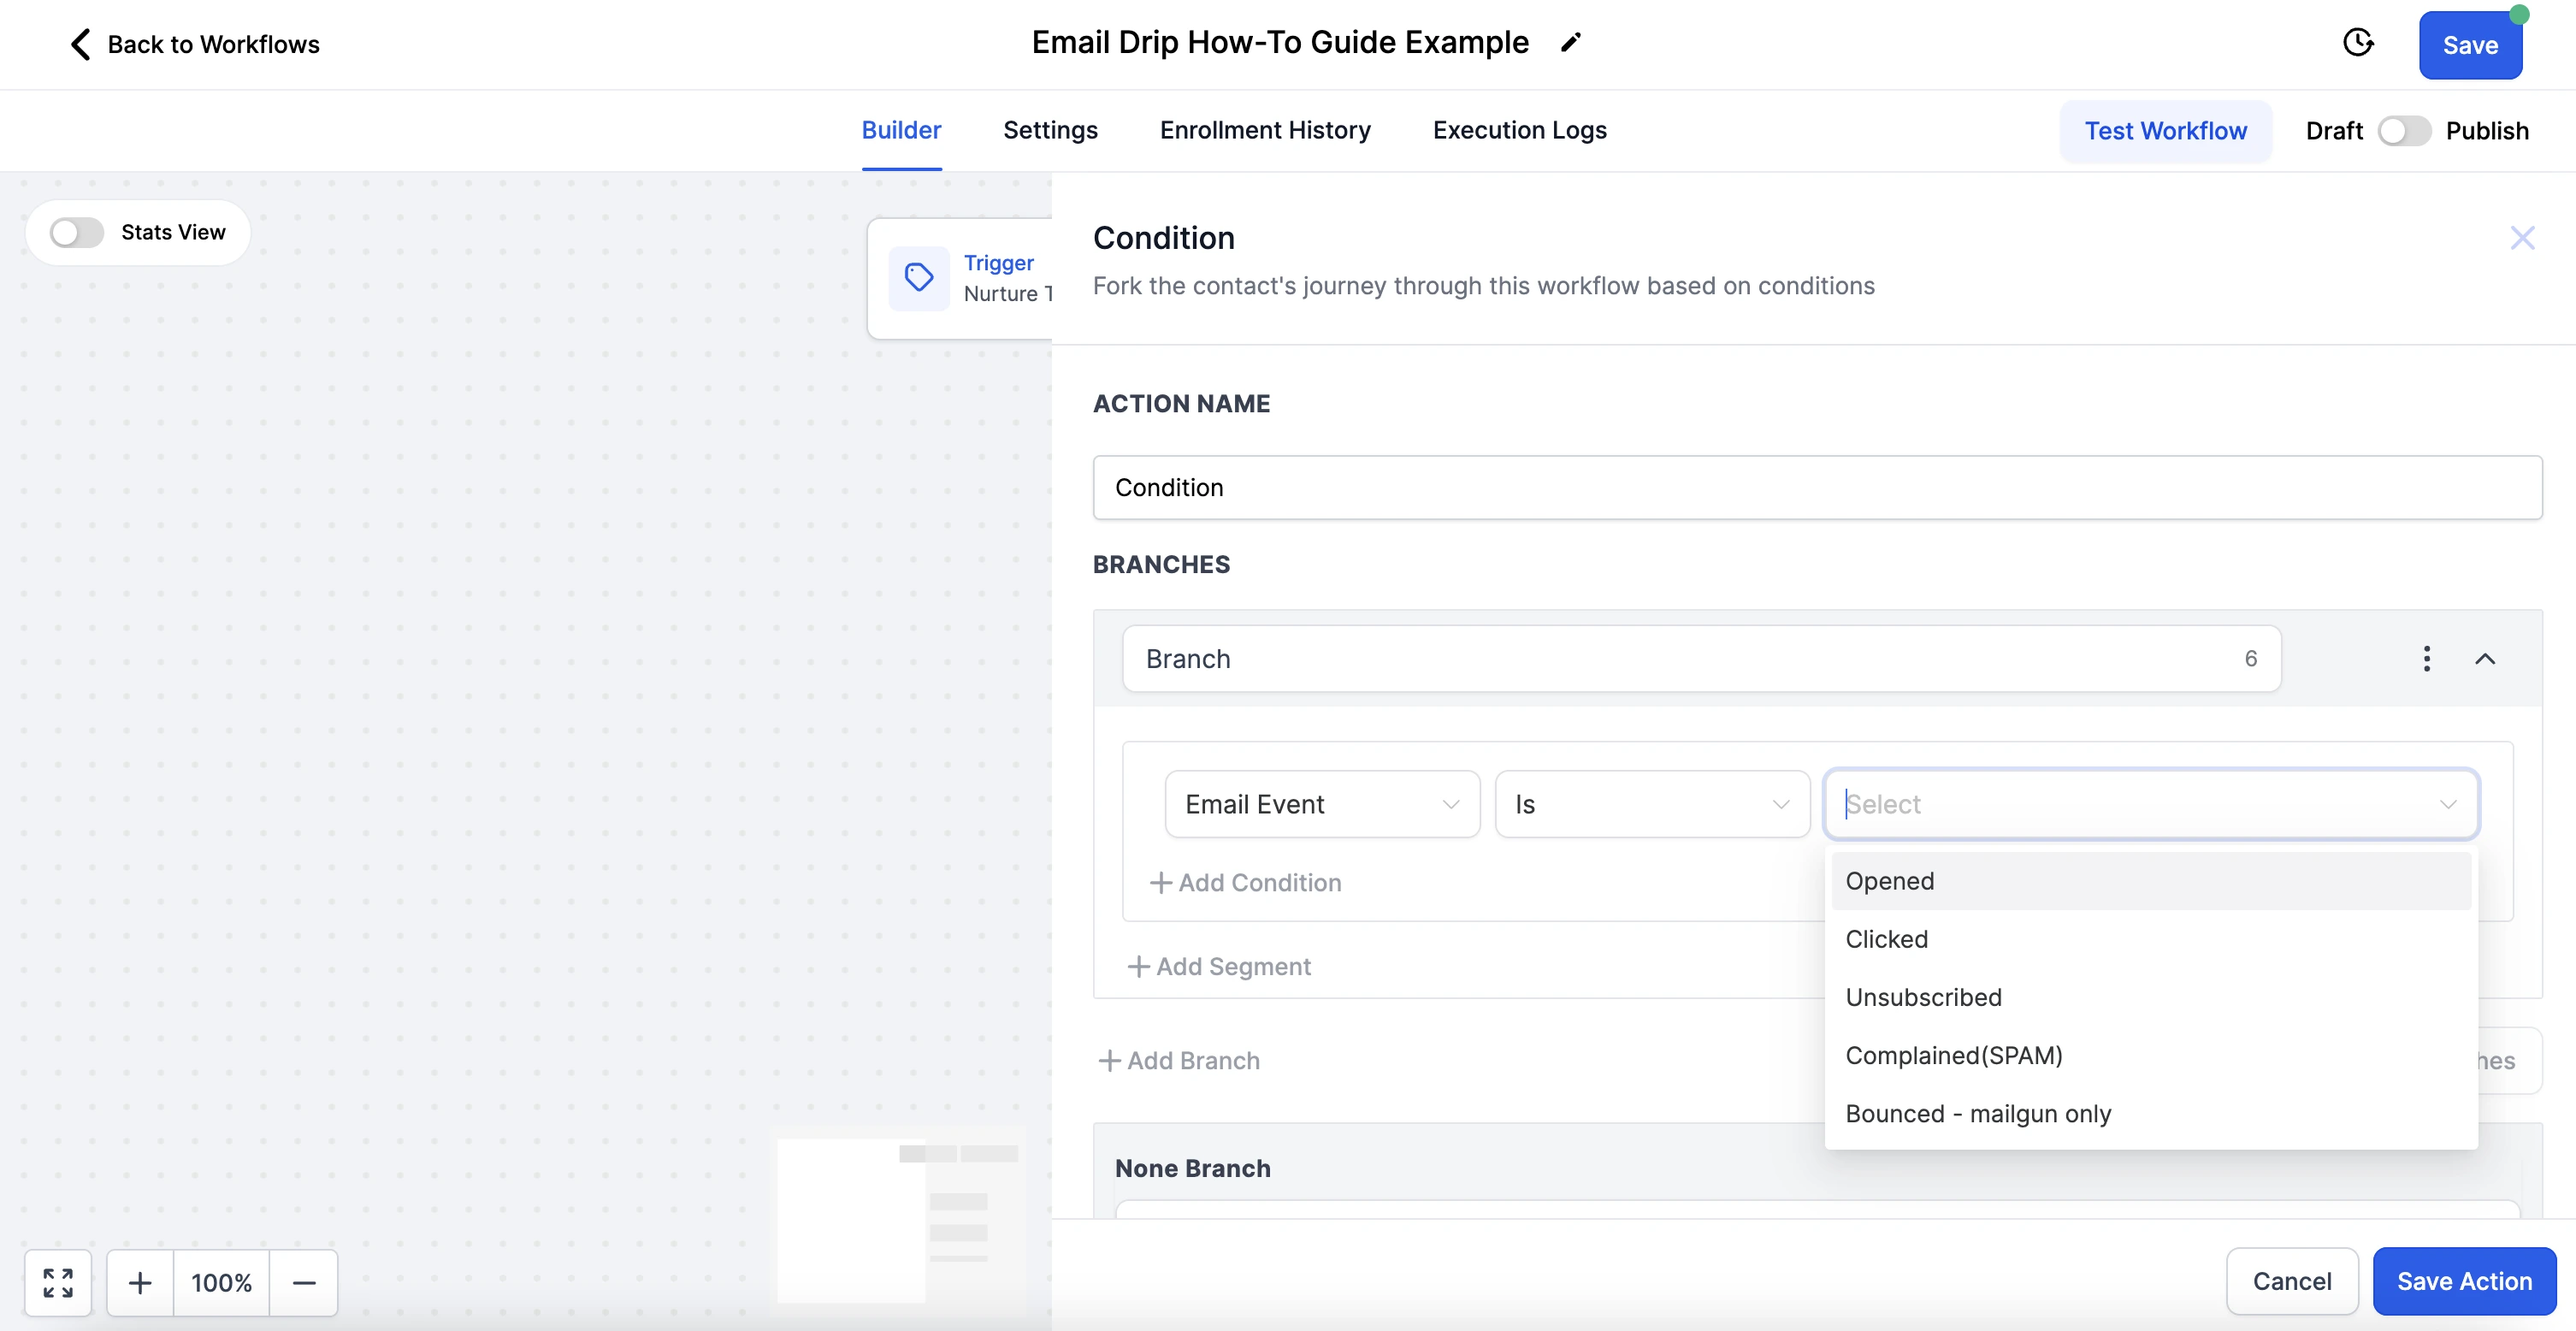
7. Set an Email Event
Configure an email event to monitor the recipient’s interaction. For example, set the workflow to wait for 3 days to see if the email is opened.
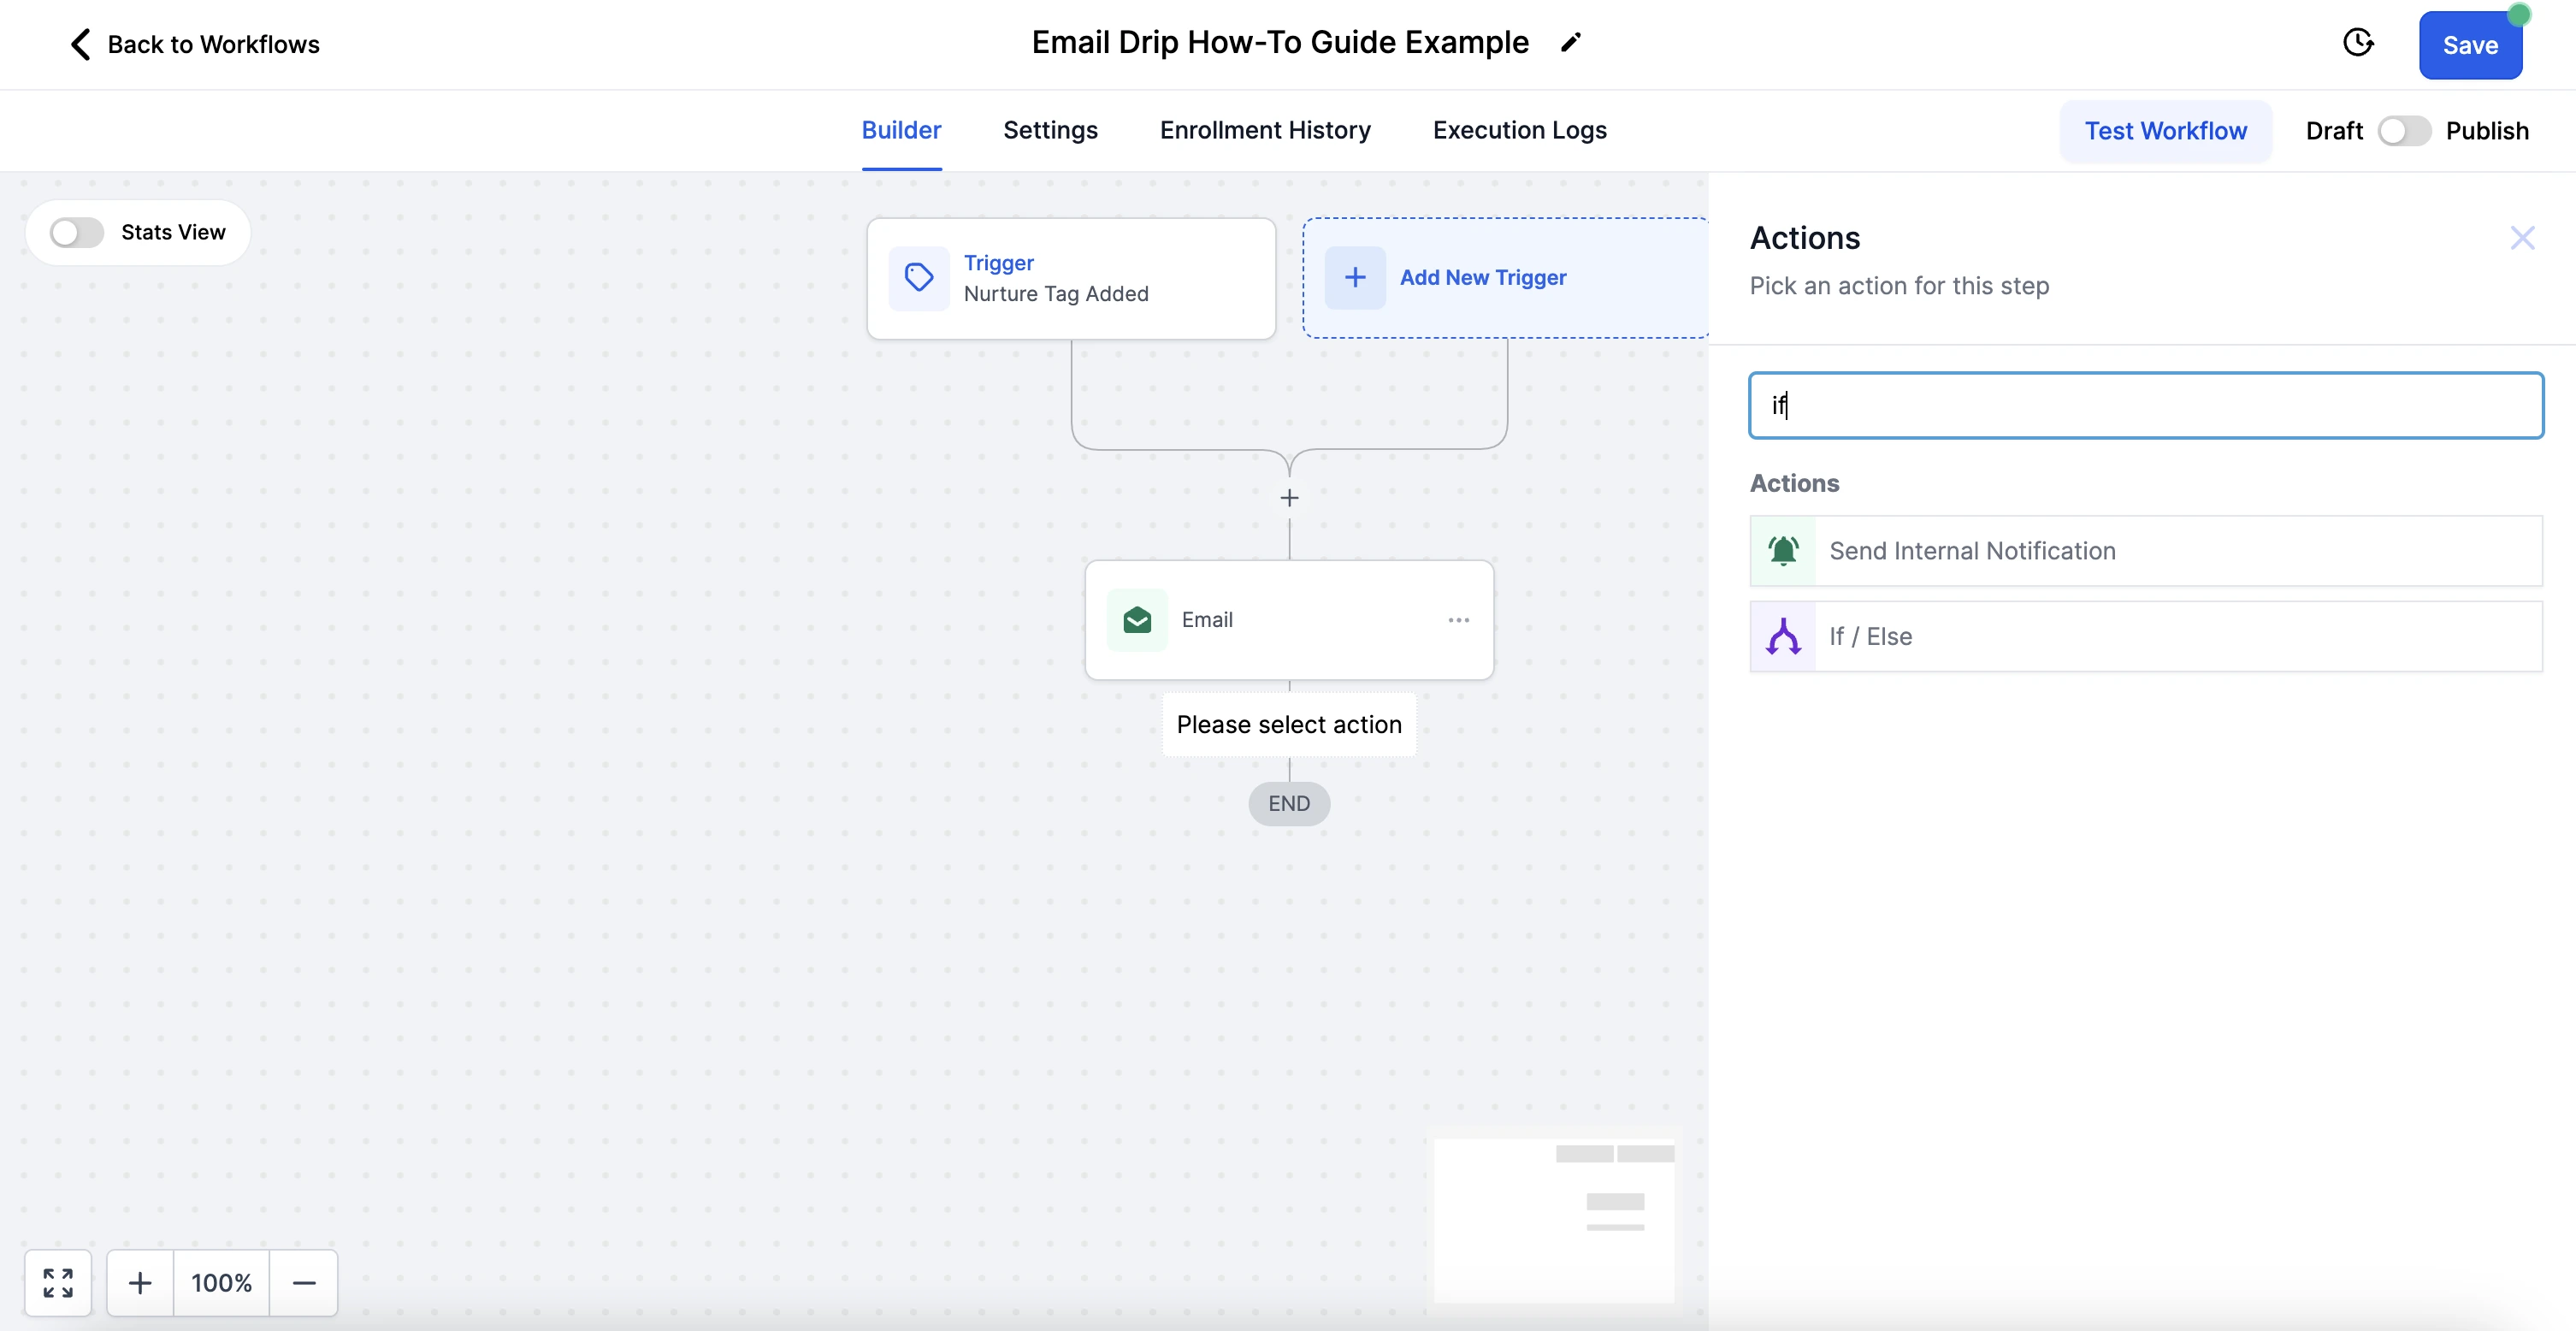
8. Add an If/Else Conditional Branch
Incorporate an if/else conditional branch to direct recipients down different paths based on their actions—whether they open the email or not.
9. Link Email Event to Conditional Branch
Connect the email event to the conditional branch, dividing the contacts based on their behavior (e.g., opening or not opening the email).
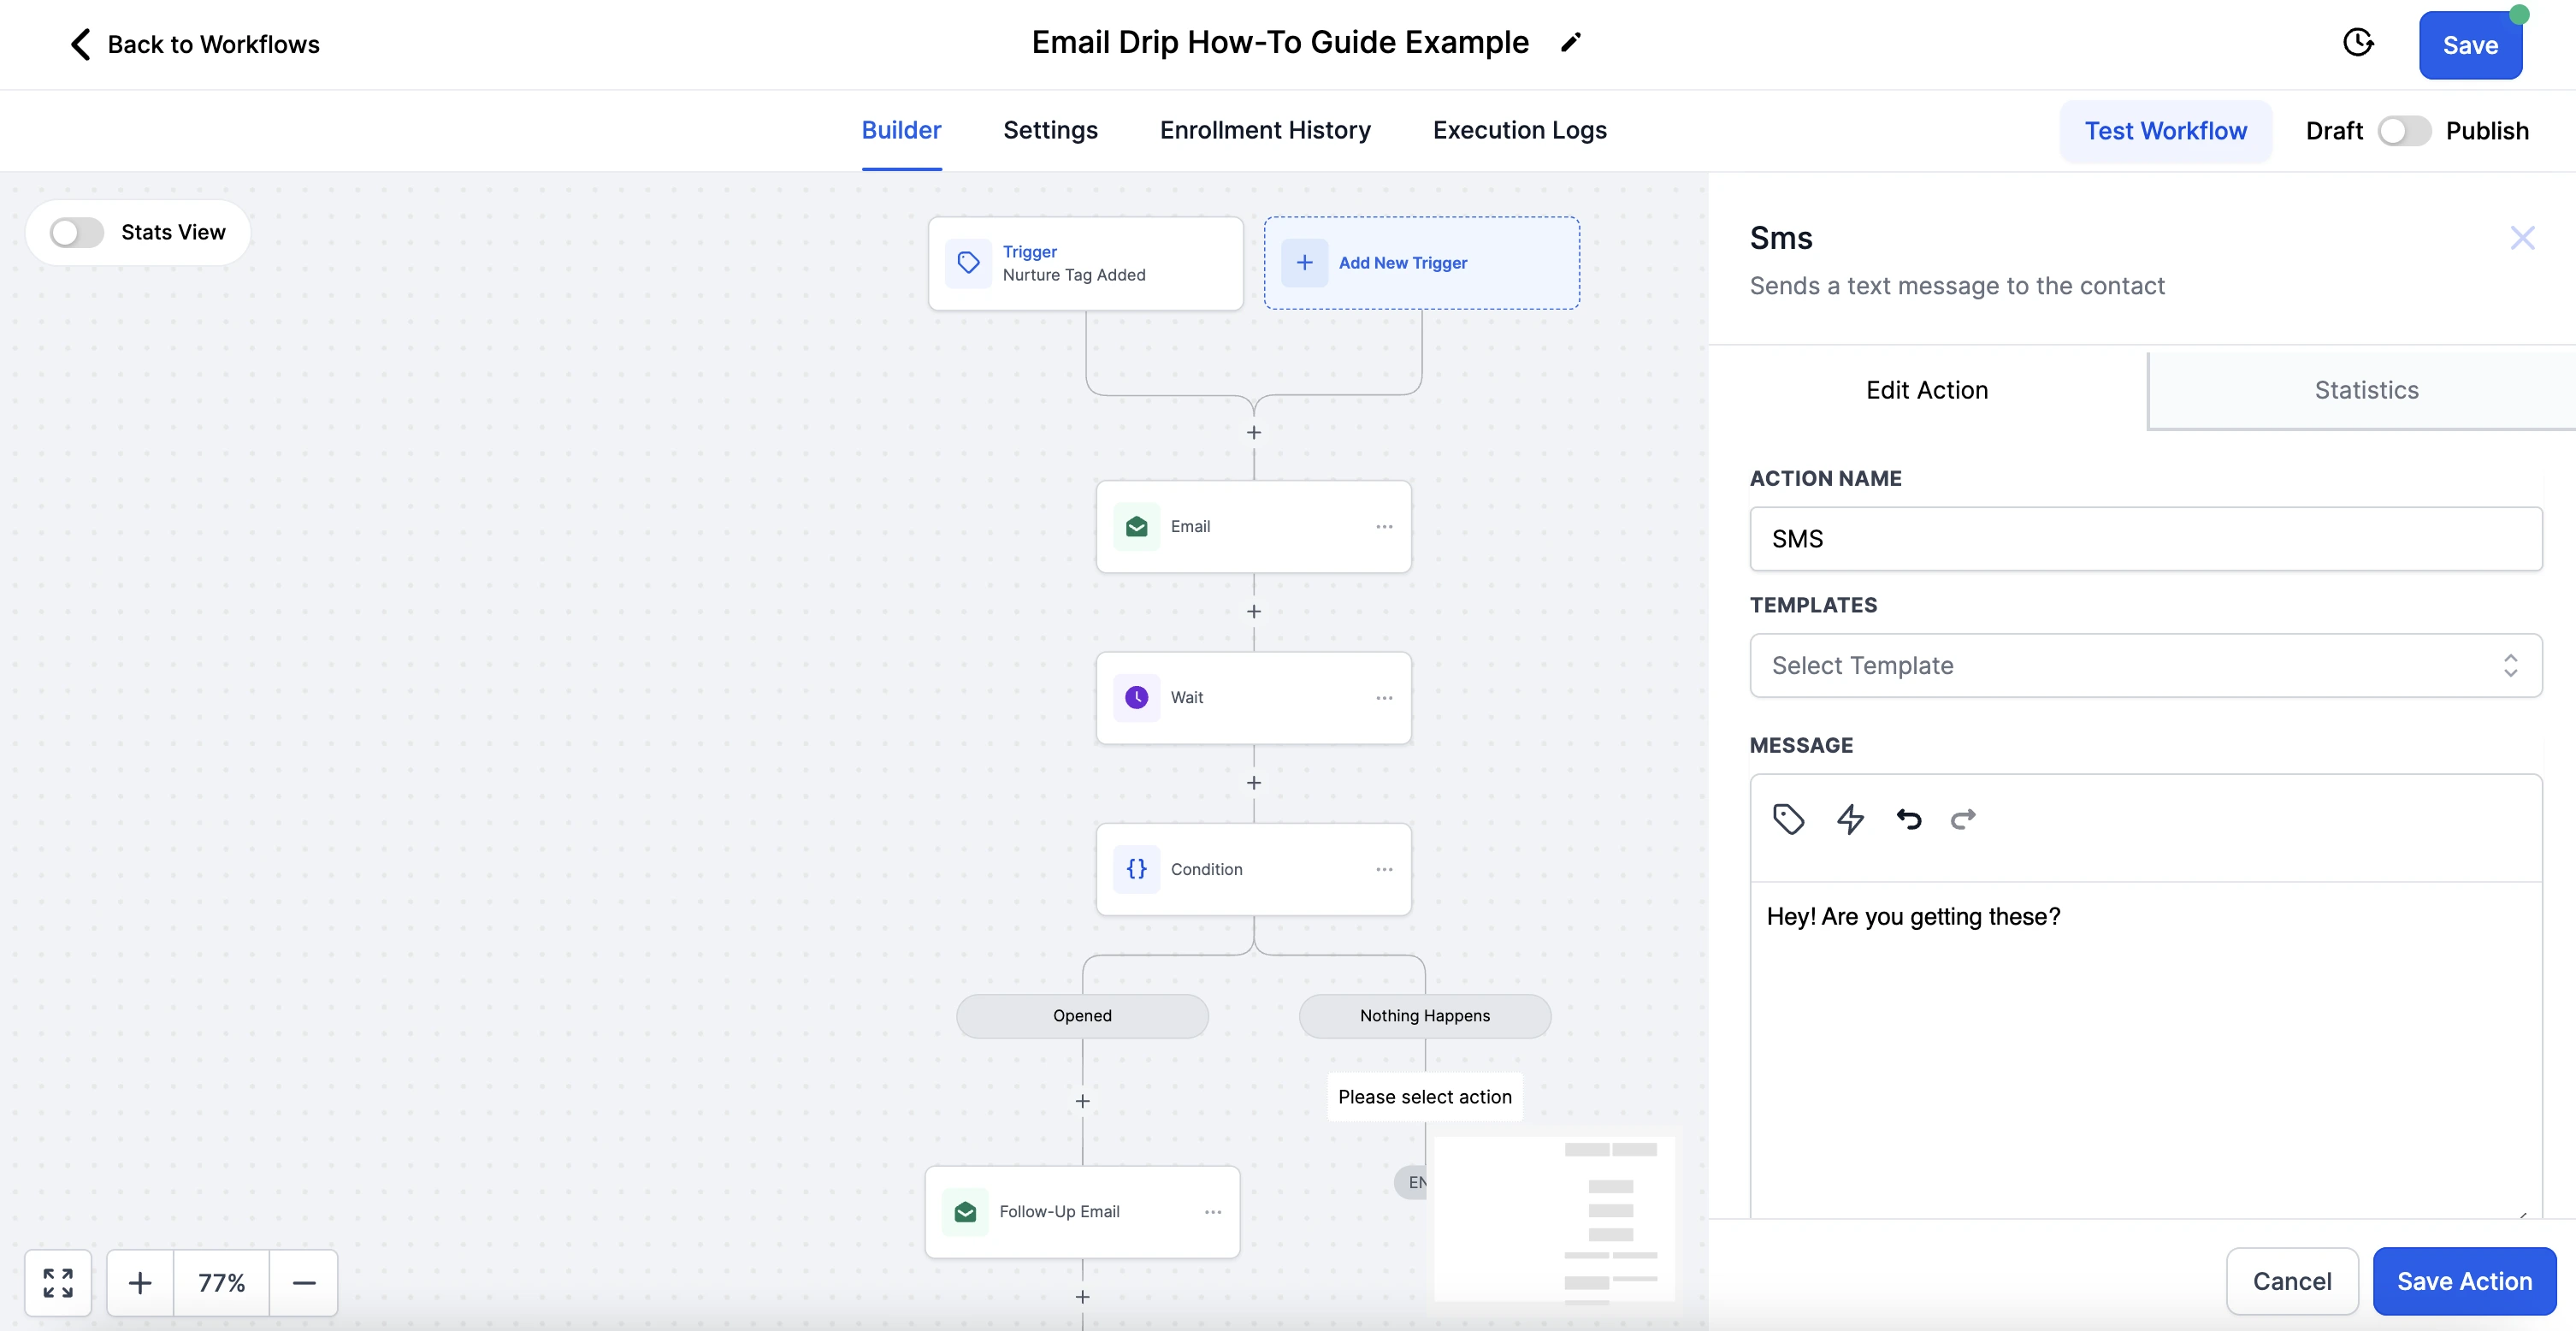
10. Create a Follow-Up Email
For recipients who open the email, add a follow-up email to maintain engagement and guide them further down the funnel.
11. Send SMS for Unopened Emails
If the email remains unopened after the specified time, set up an SMS action to reach out via text message, offering an alternative way to engage the lead.
12. Save and Publish Your Workflow
Once you’ve set up your email drip sequence, save the workflow. Switch it to “Publish” mode to activate the automation, ensuring your emails start going out as planned.
By following these steps, you can create an effective email drip sequence that nurtures leads, increases engagement, and helps convert prospects into students.