
Build Automations
Automations in FSCRM help you eliminate repetitive tasks, ensuring consistent communication and efficient workflow management. Follow these steps to create custom workflows tailored to your flight school’s specific needs:
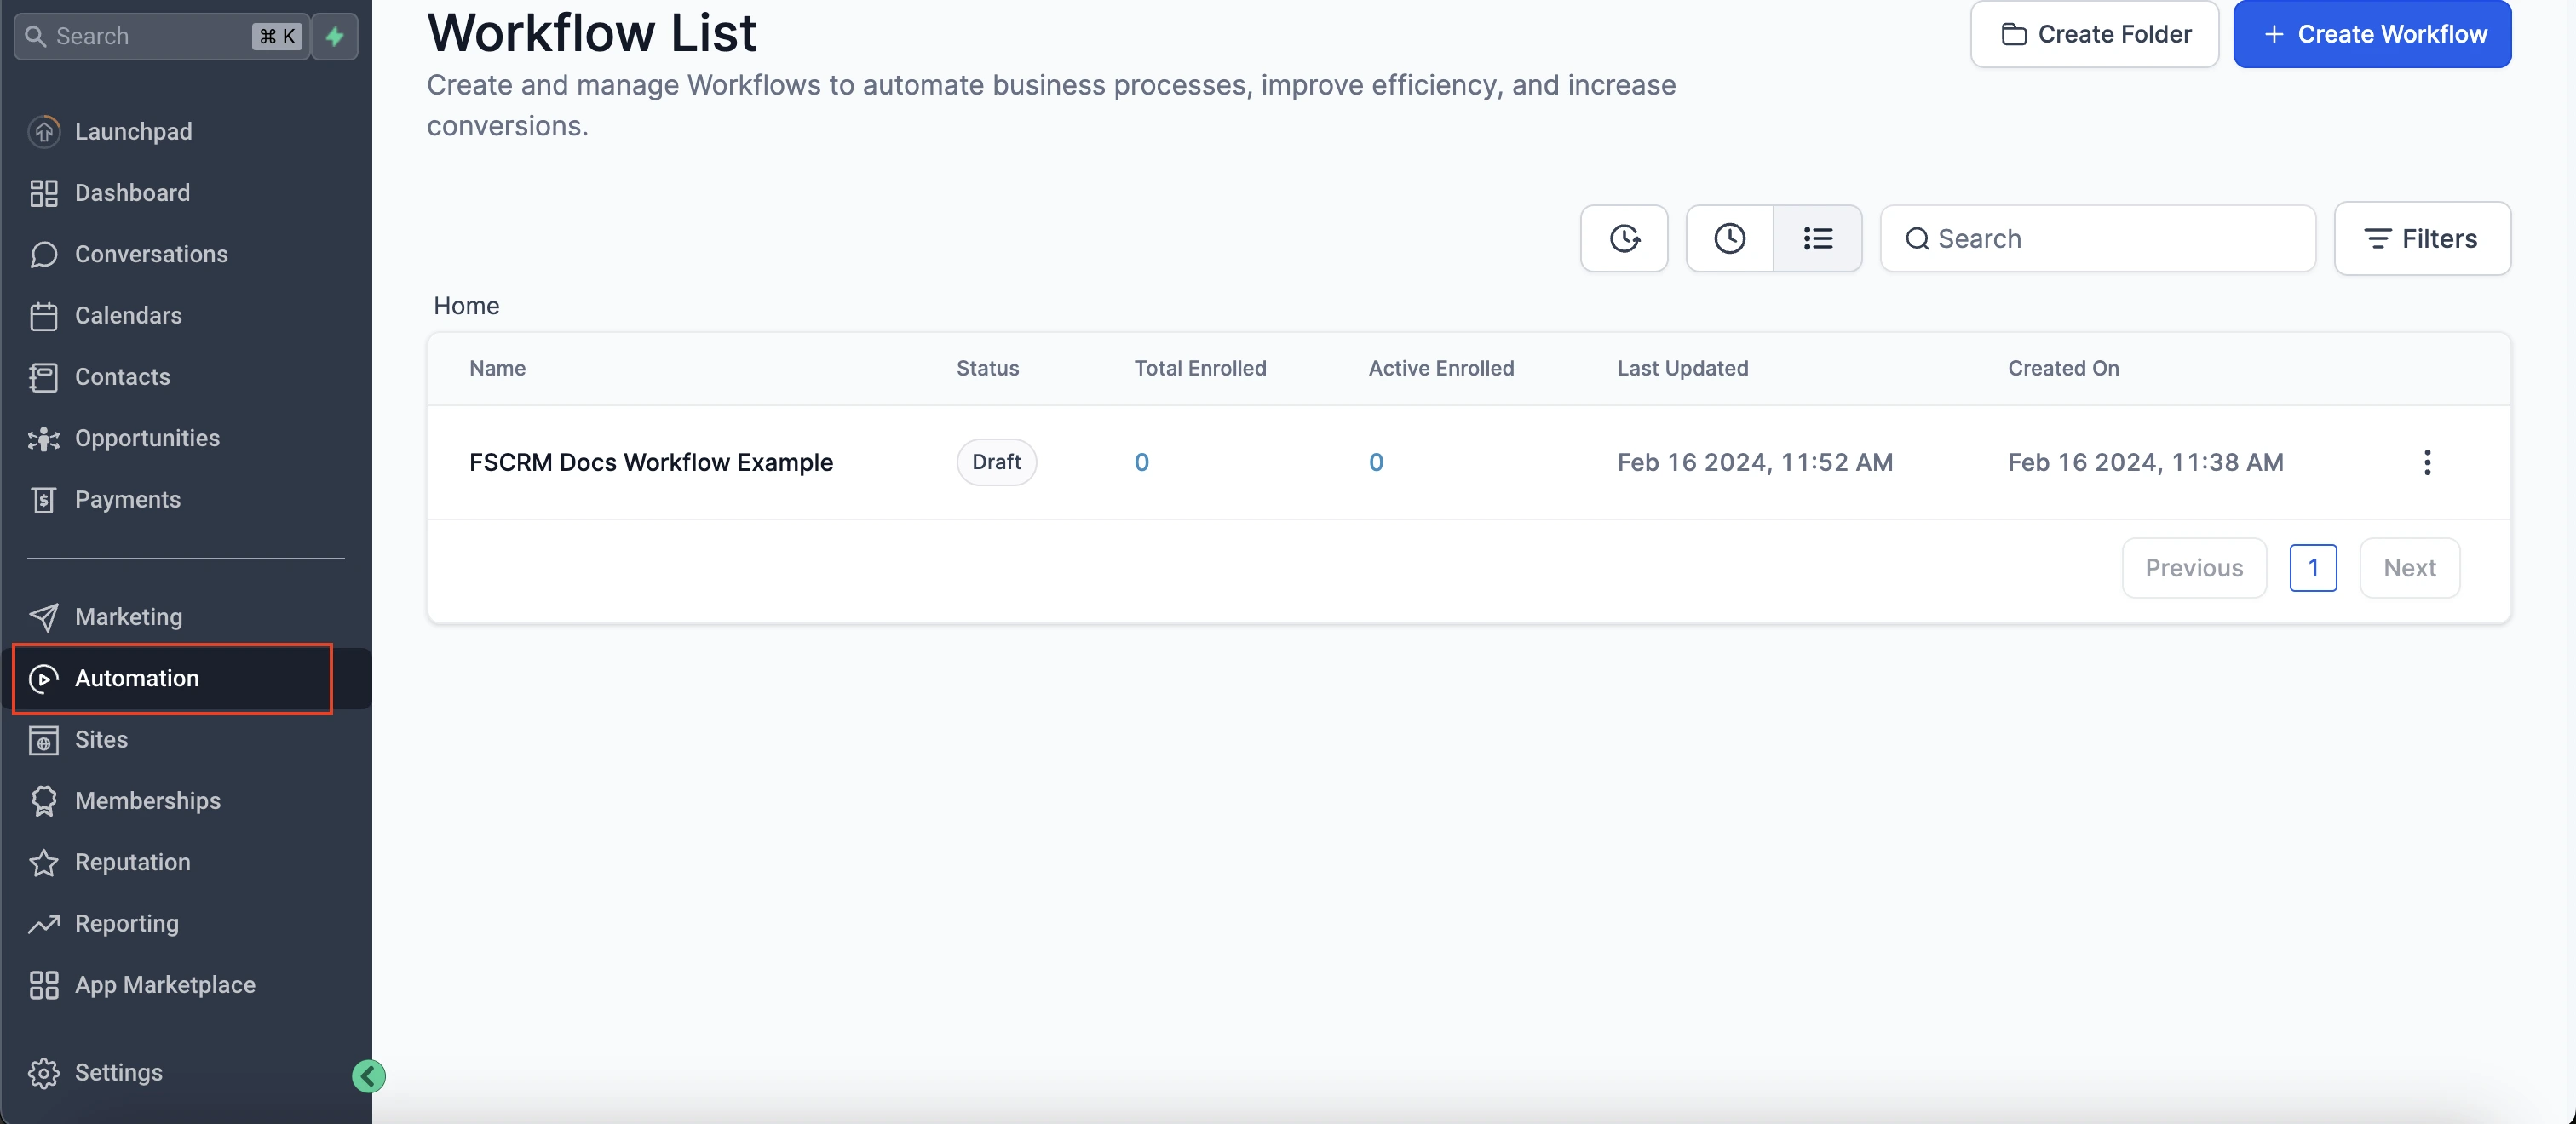
1. Access the Automations Tab
Start by navigating to the “Automations” tab on the sidebar of your FSCRM dashboard.
2. Explore Available Workflows
Once in the Automations tab, you’ll see a list of pre-designed workflows. These workflows serve various purposes such as engaging potential students, responding to form submissions, and managing contacts and opportunities.
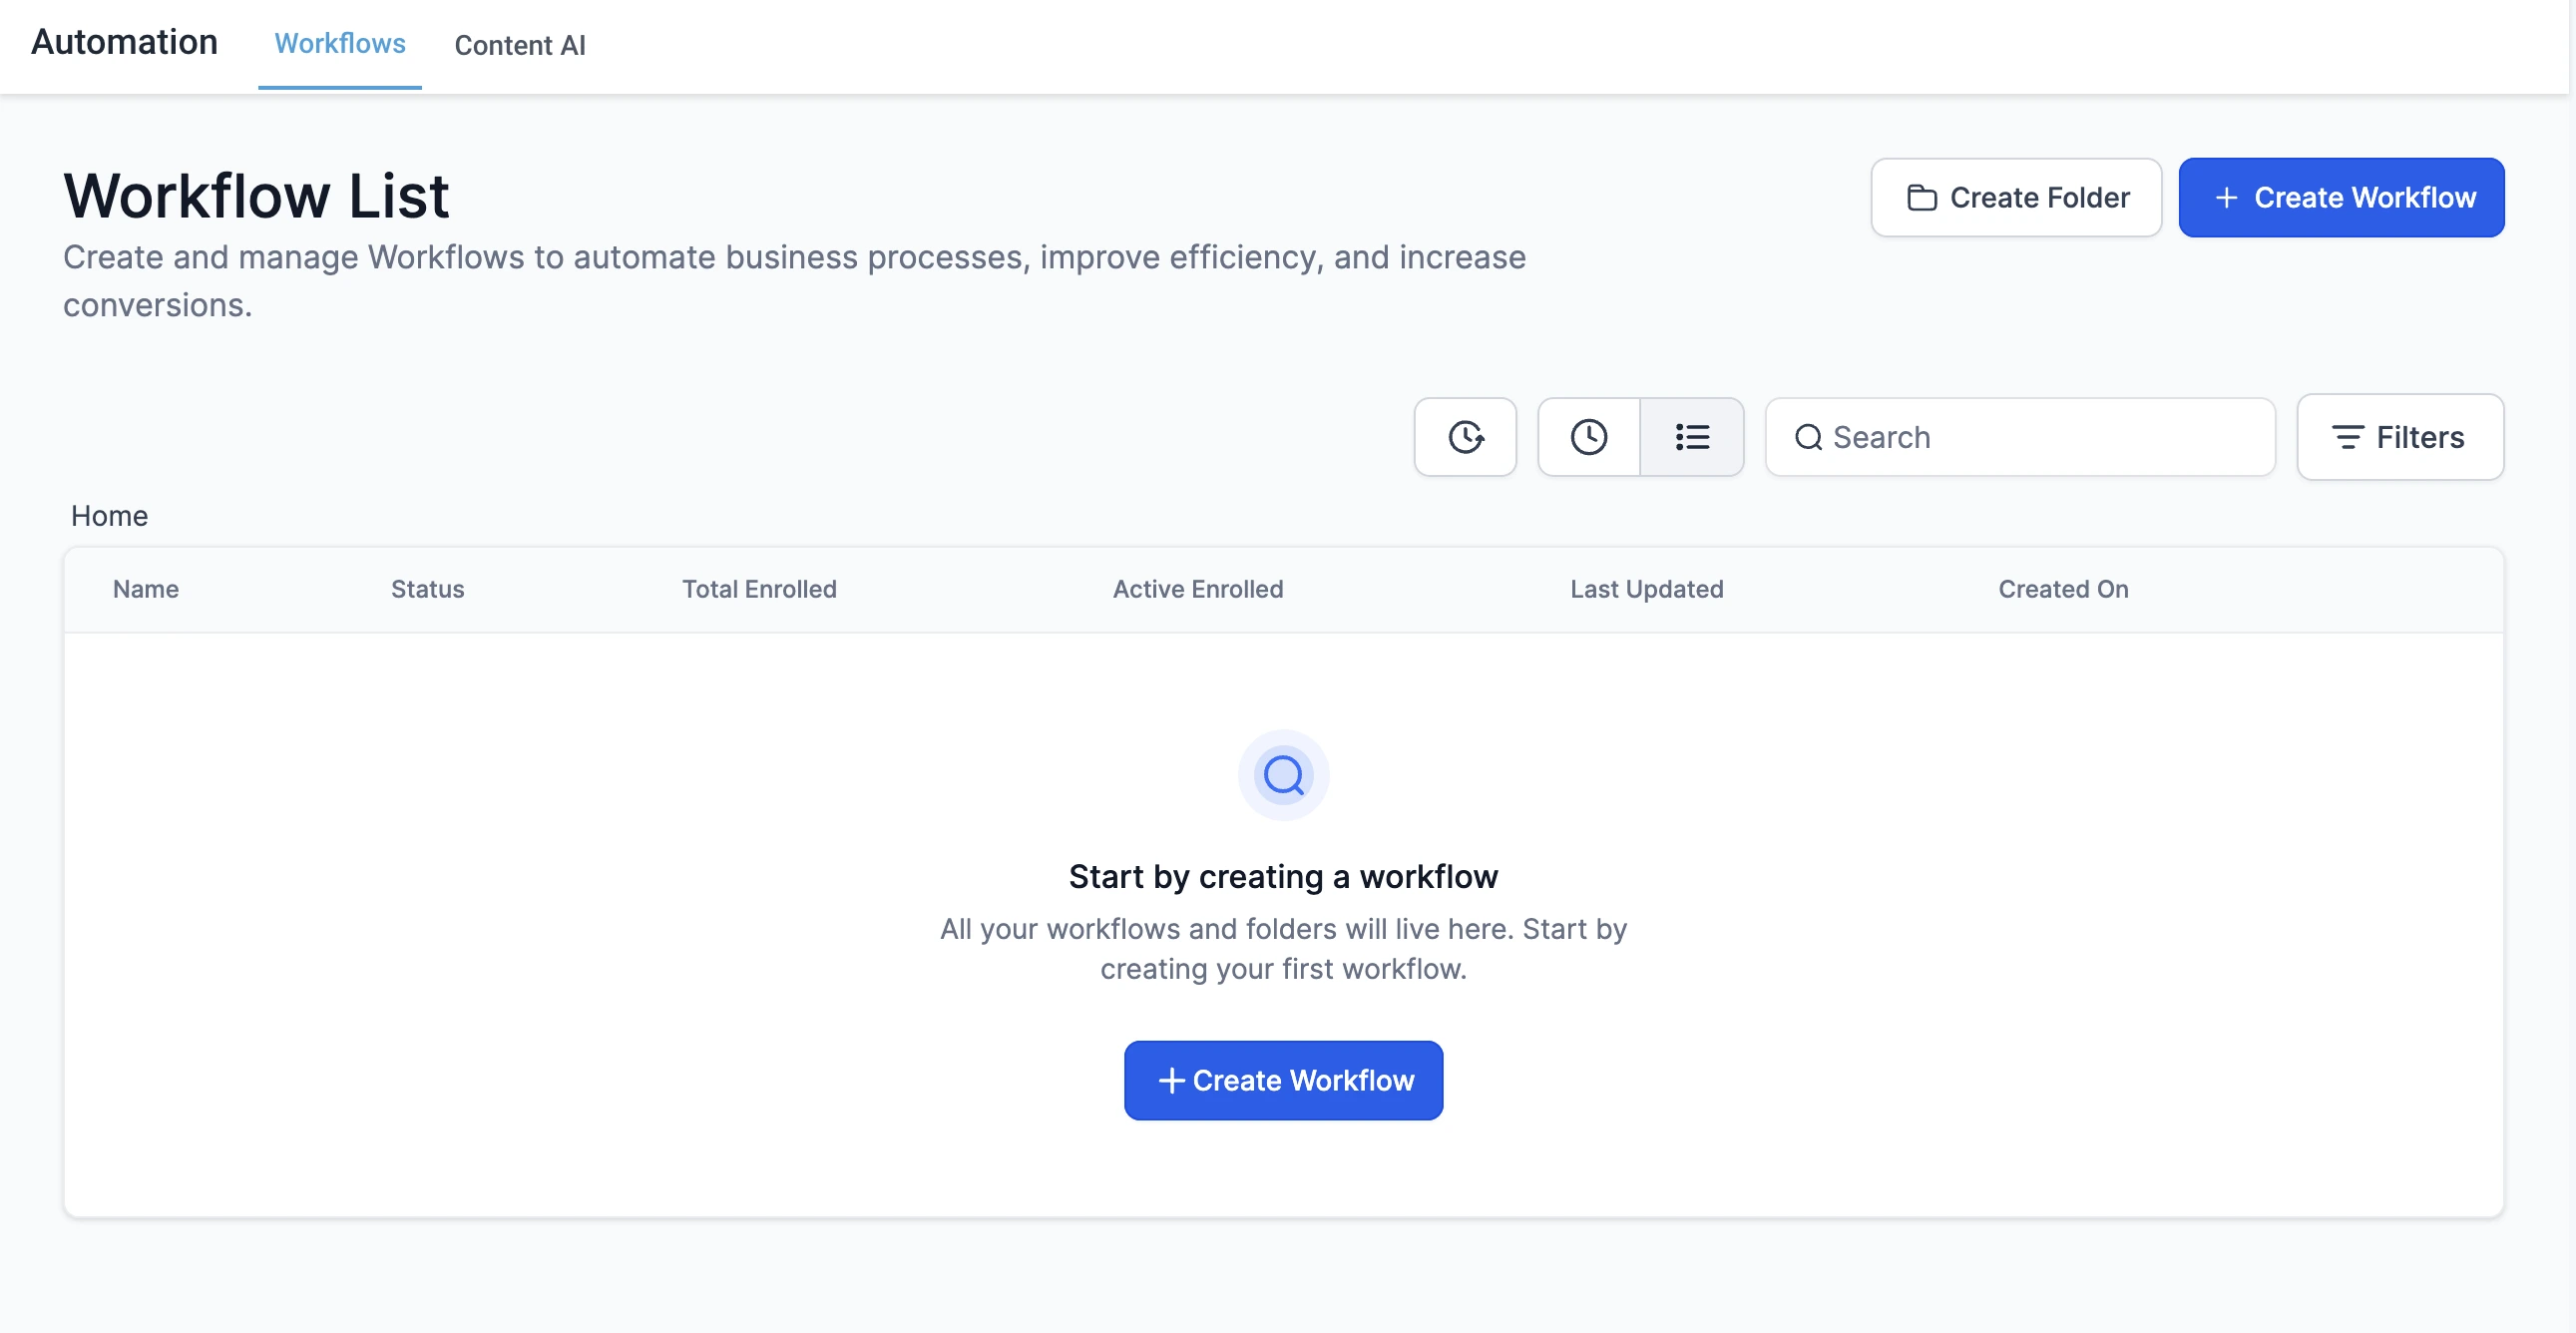
Browse the available workflows to find one that meets your needs
3. Select or Create a Workflow
Choose a workflow that aligns with your objectives, or click on “Create Workflow” in the top right corner to start from scratch.
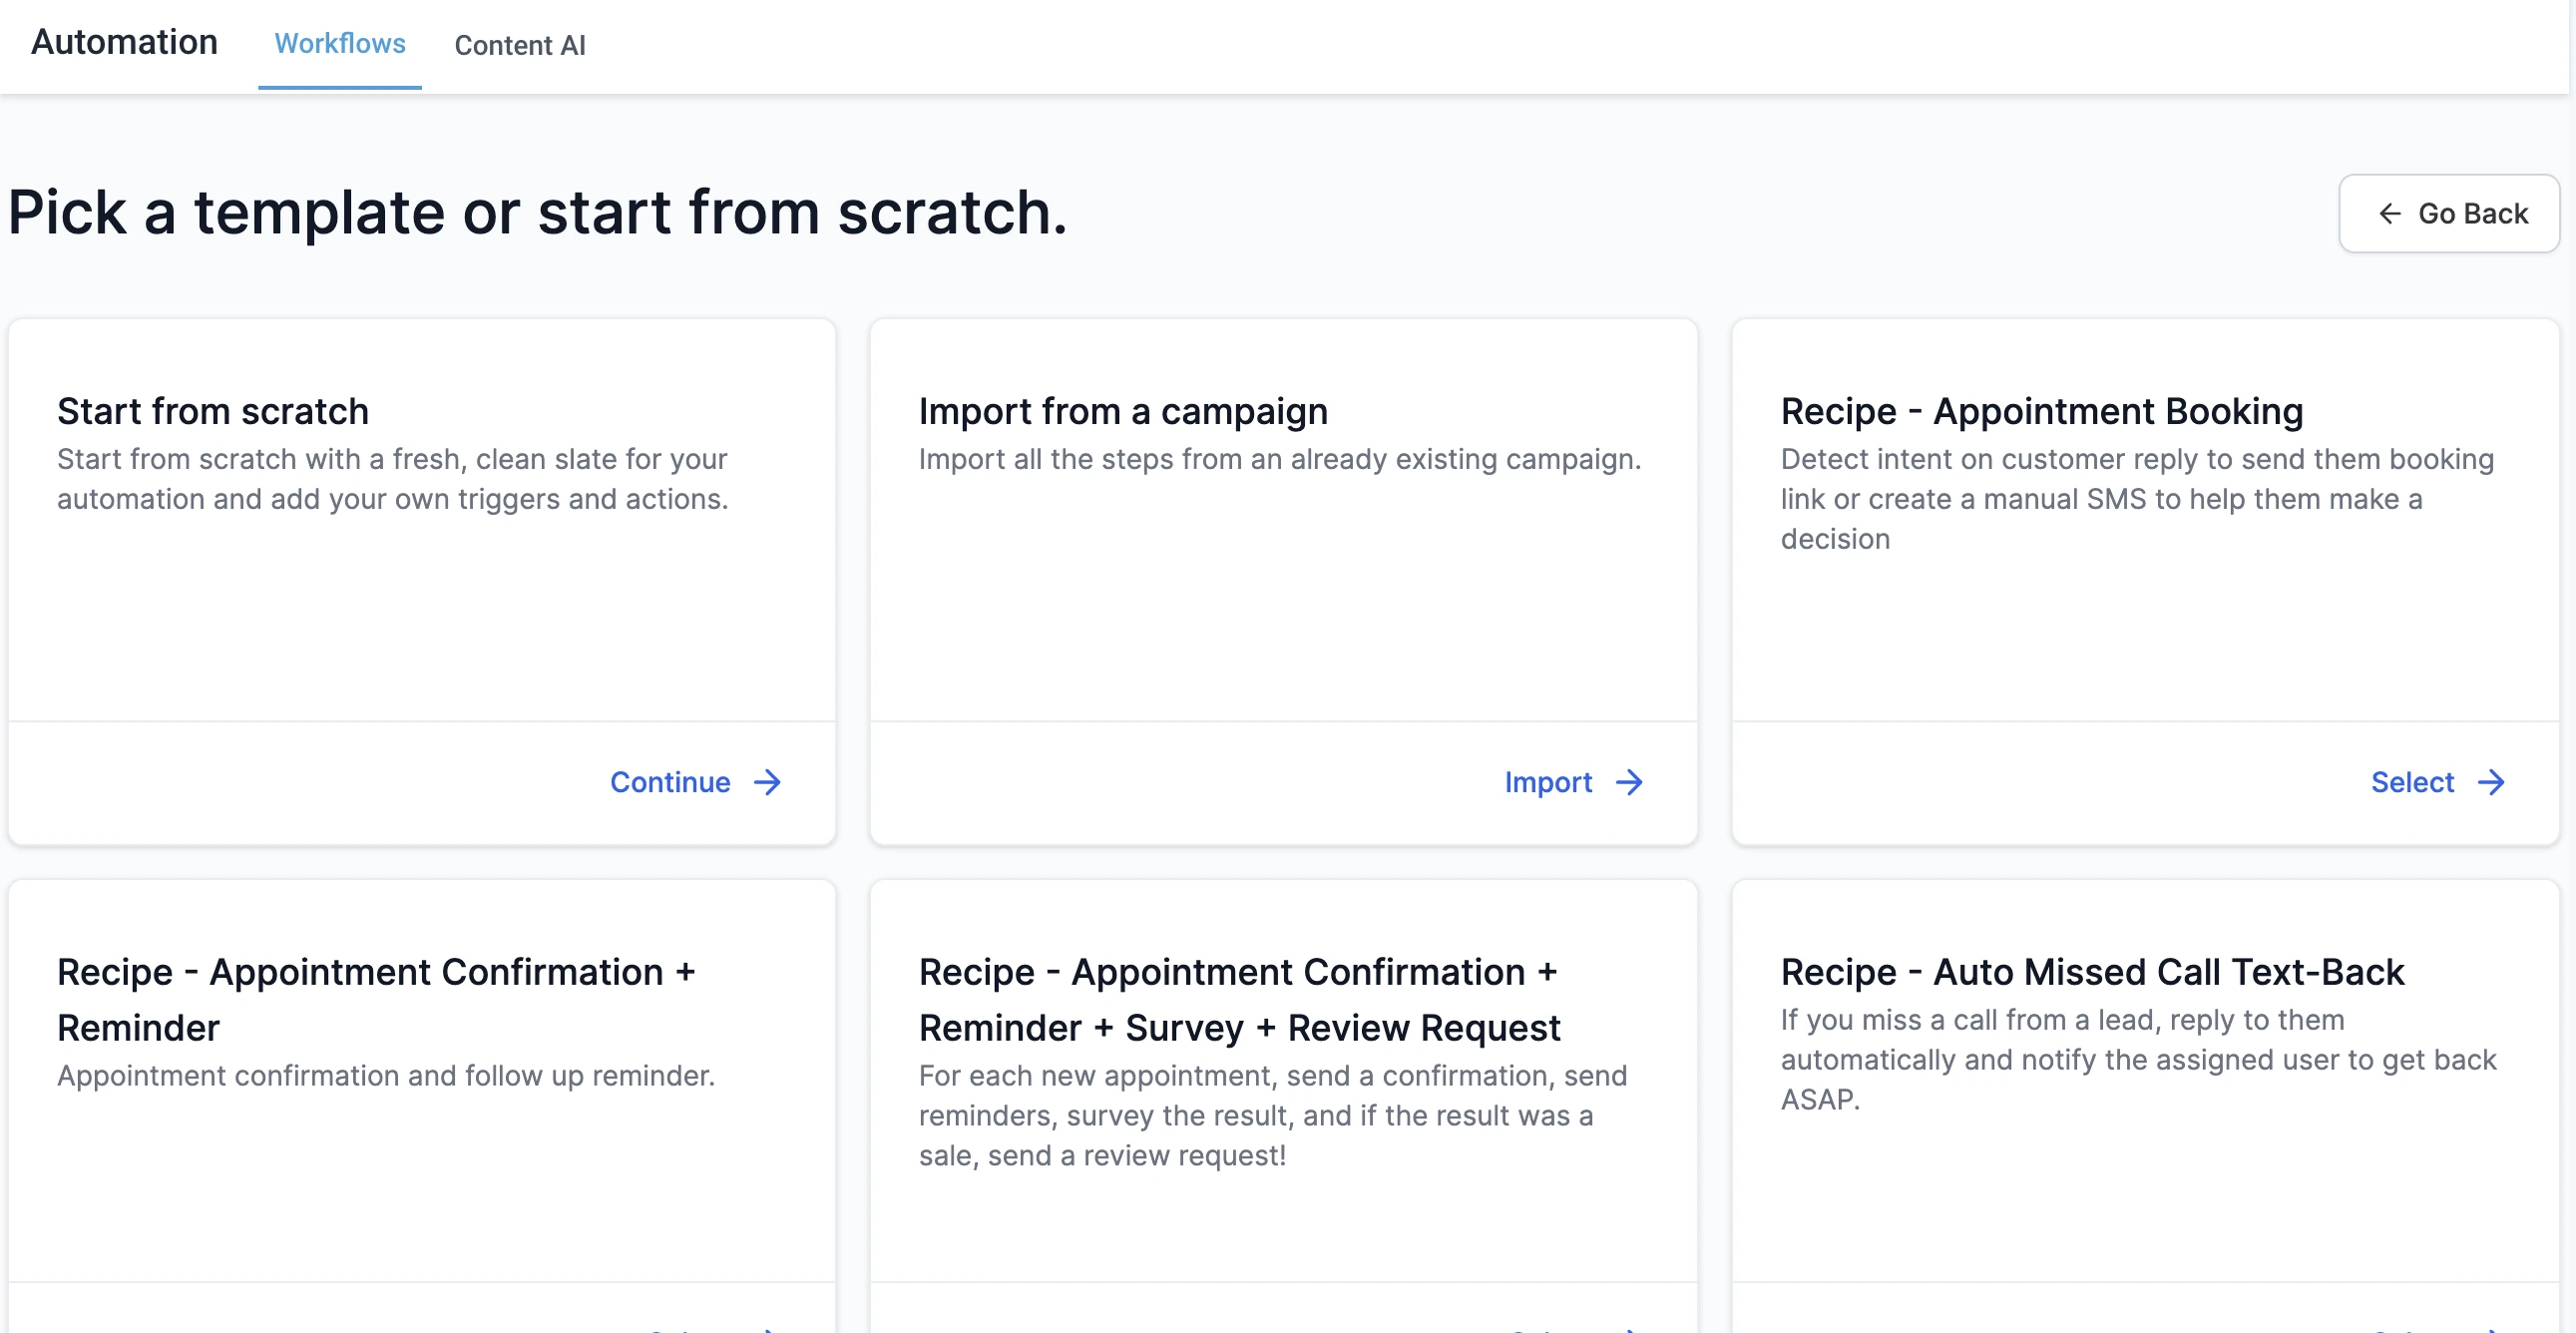
Decide whether to build a new workflow or use an existing template
4. Name Your Workflow
Provide a descriptive name for your new workflow that clearly indicates its purpose. After naming it, save your changes by clicking the save button in the top right corner.
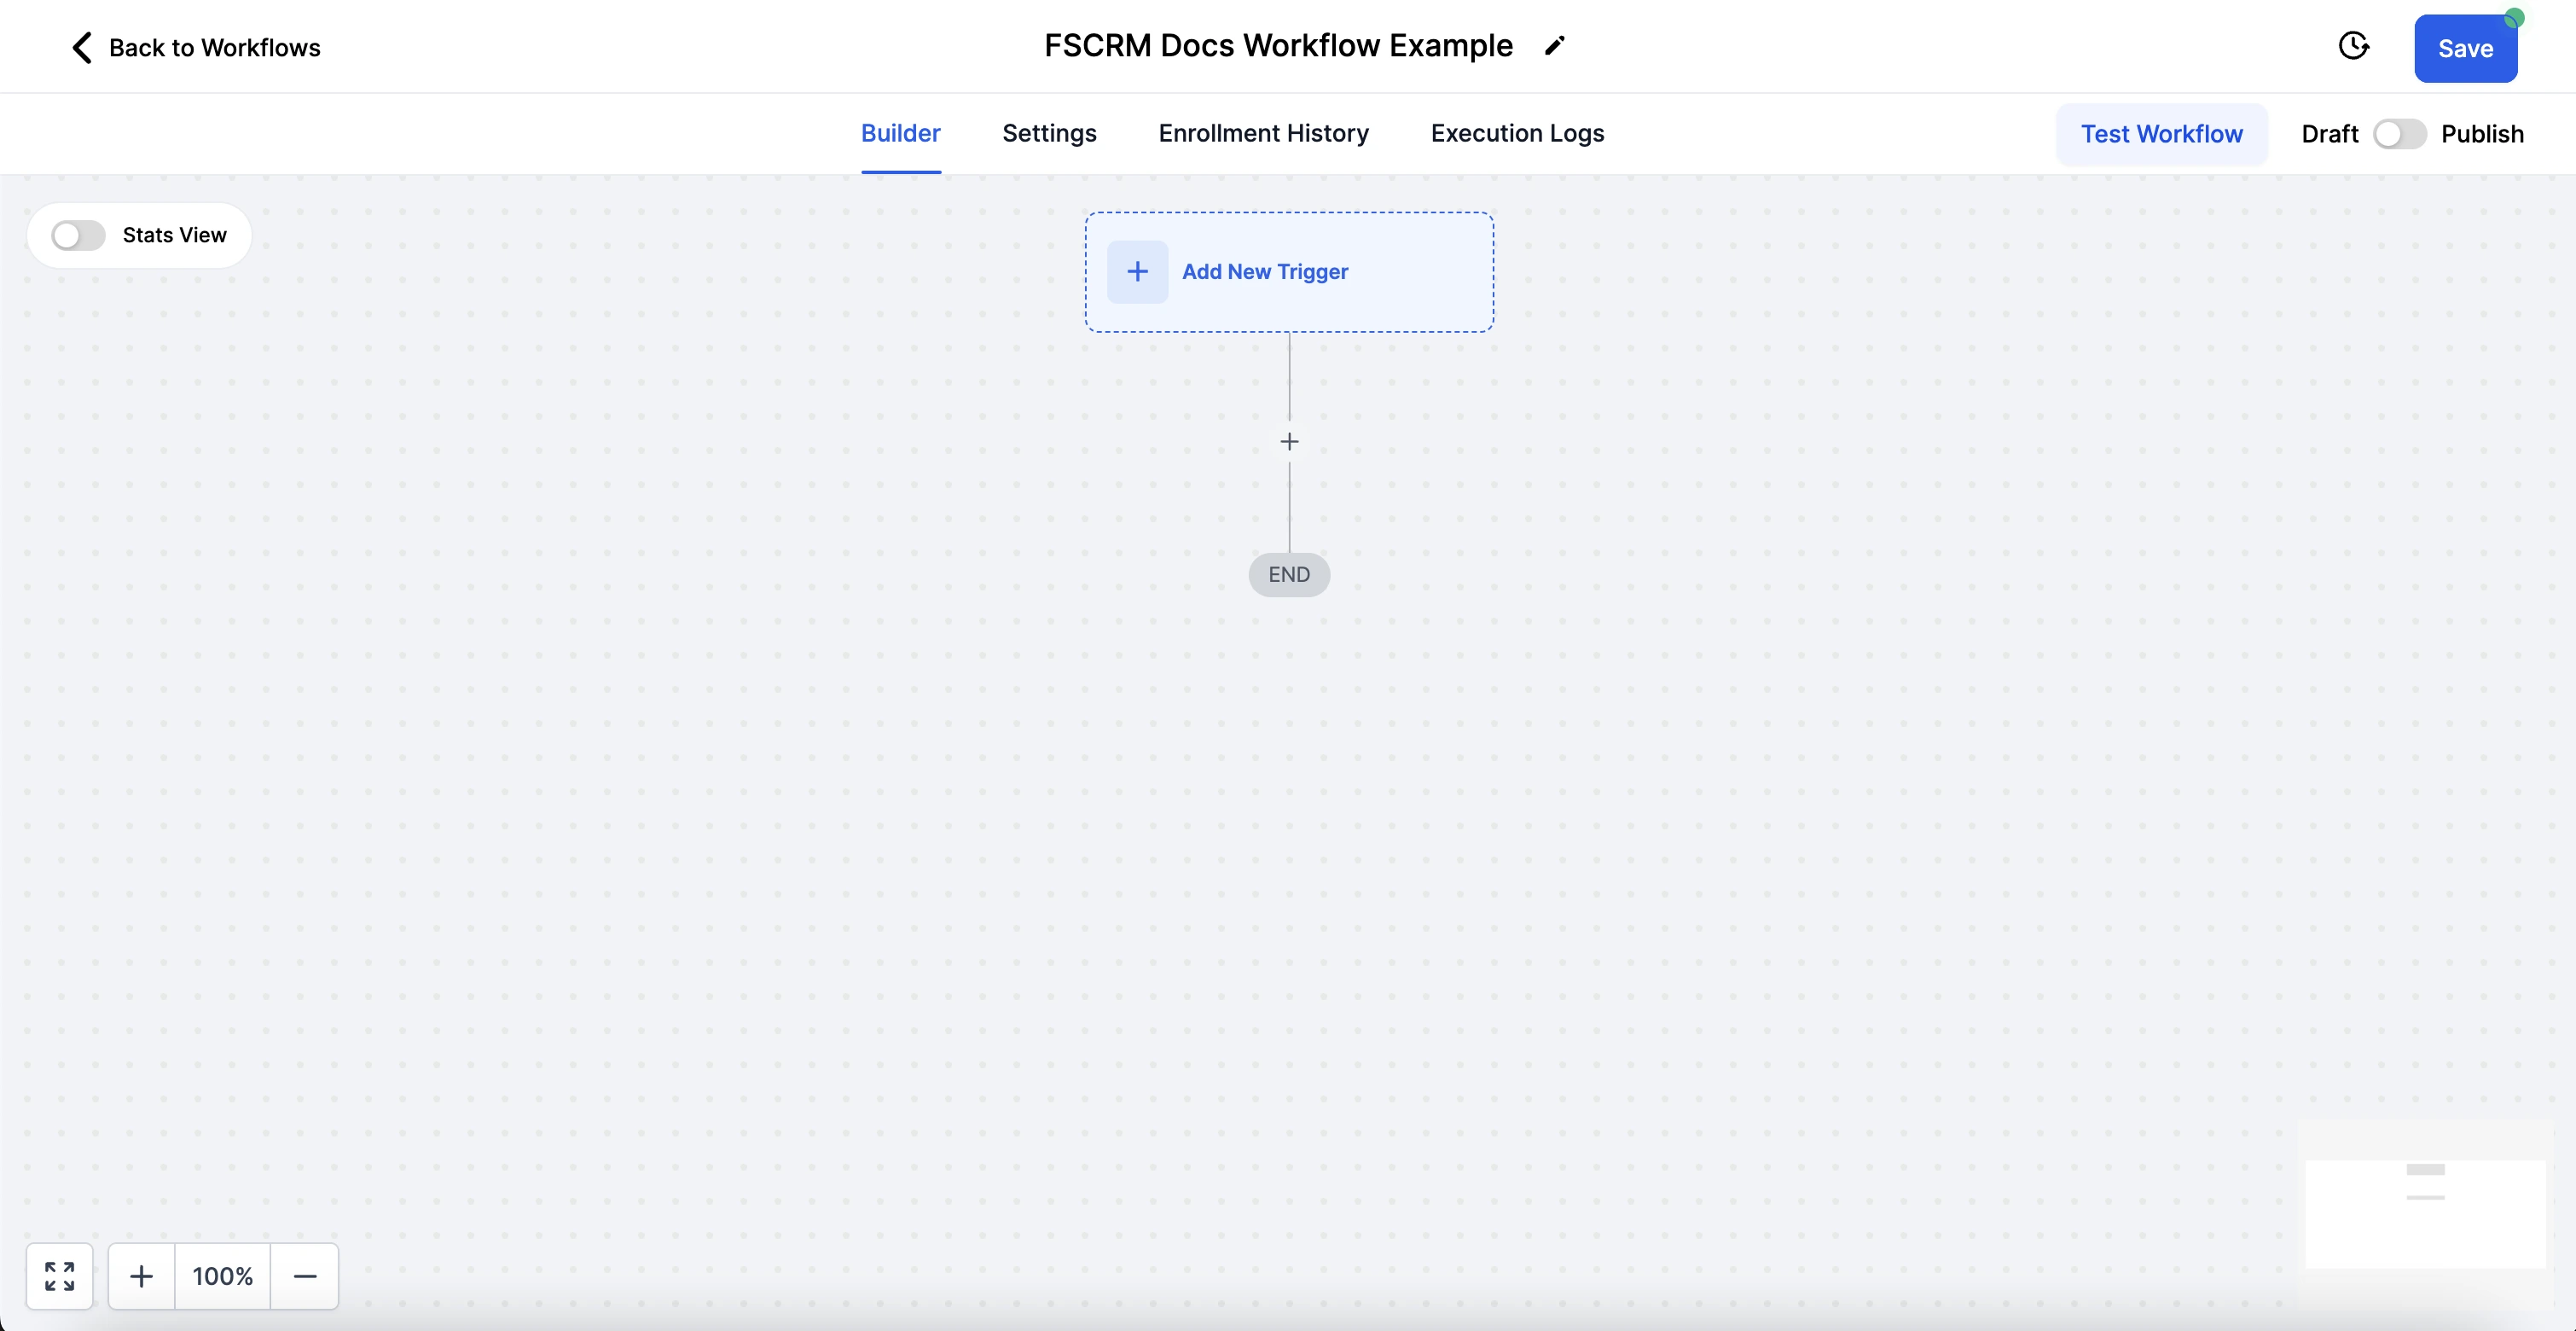
A blank workflow ready to be customized
5. Add a Trigger
Triggers initiate your workflow. Click “Add New Trigger” and choose the type of trigger that will start the automation. In this example, we’ll use a form submission trigger.
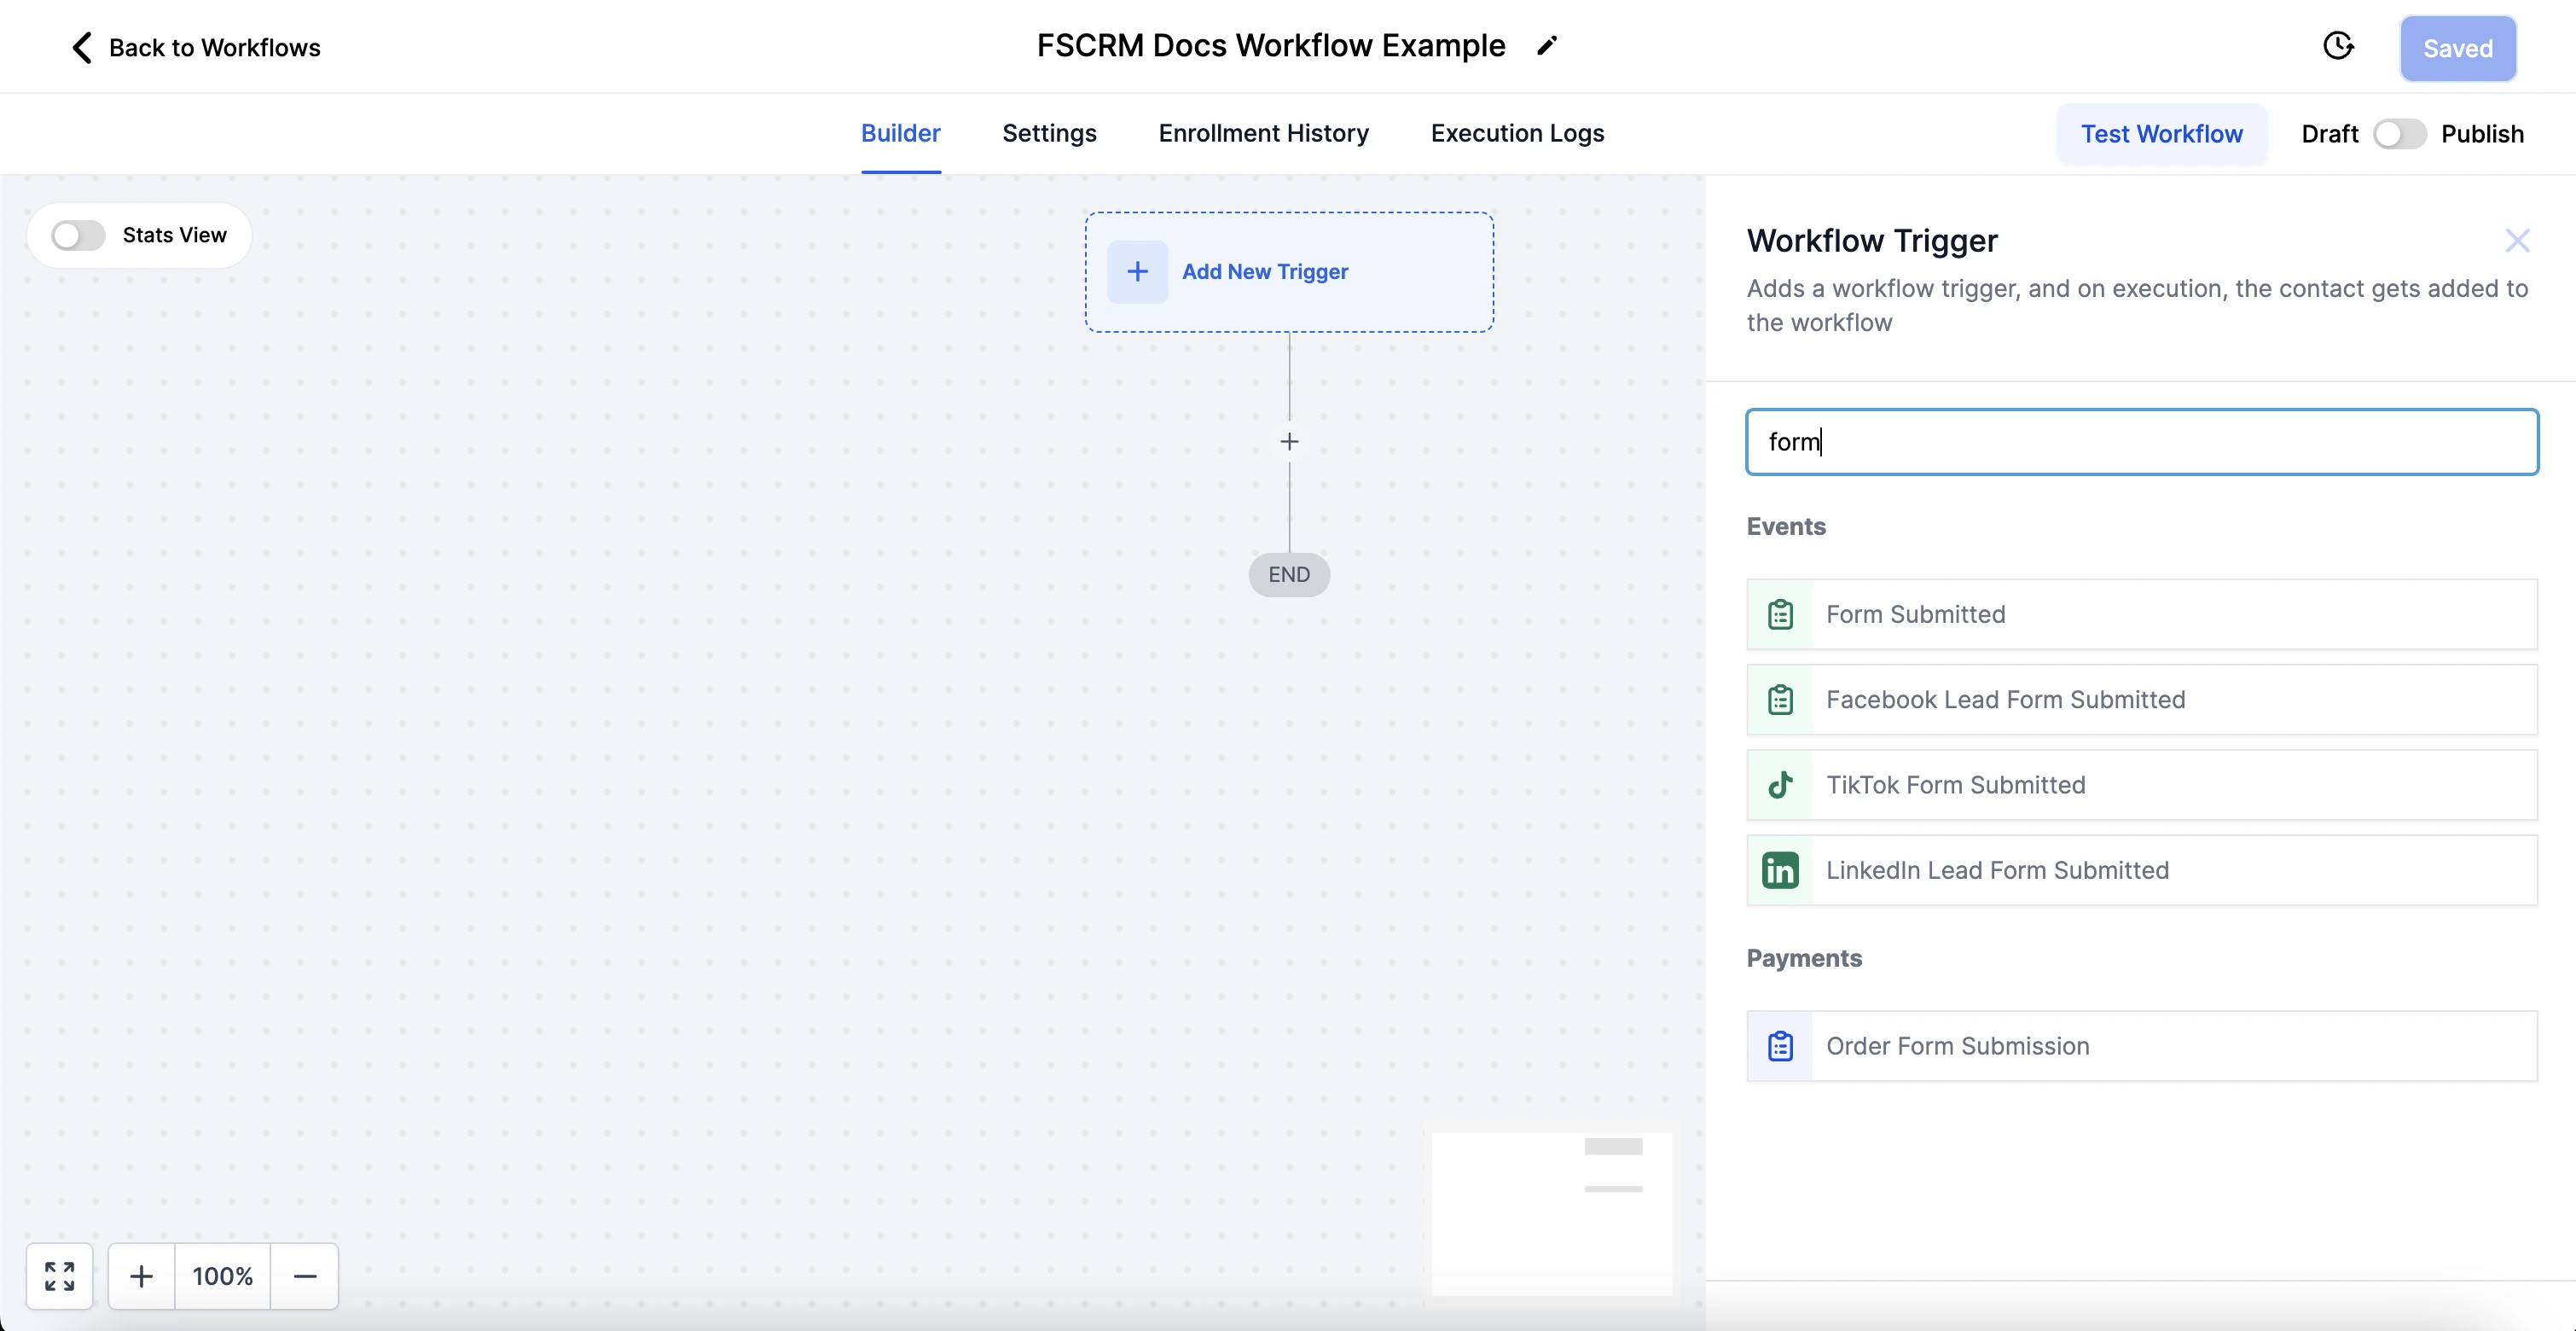
Find the form trigger
6. Configure Your Trigger
Select the specific form that will activate the automation upon submission. Make sure to save your trigger settings after selecting the correct form.
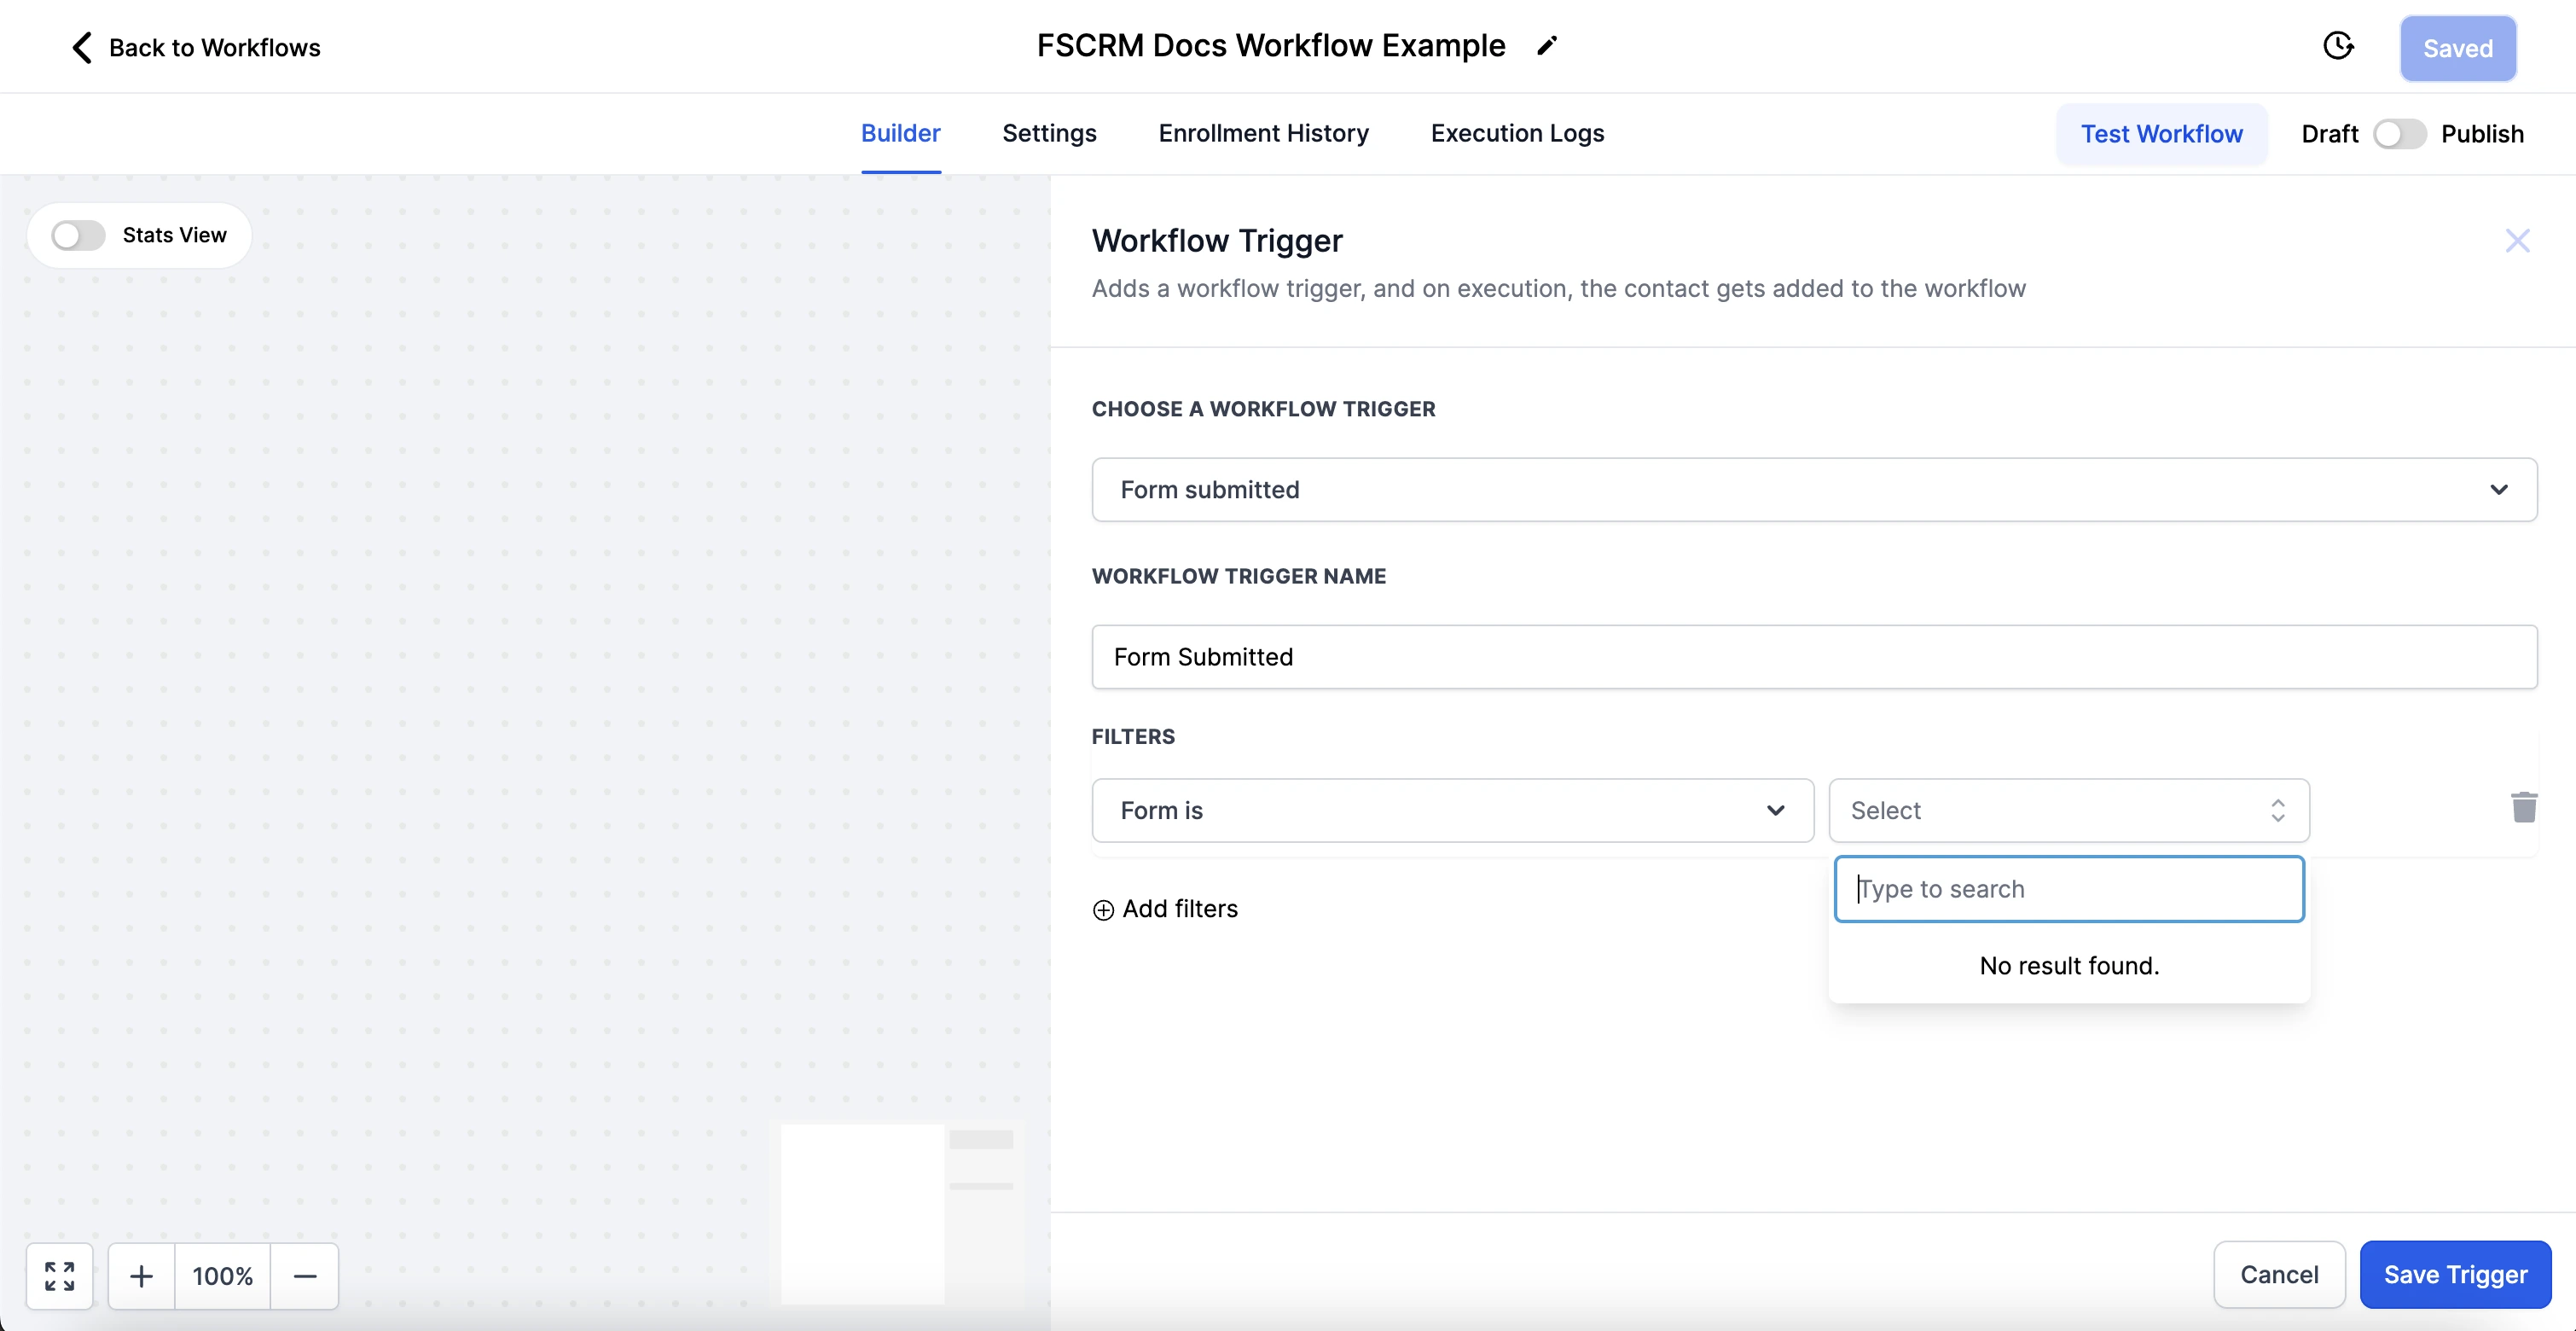
Select the form that fits your automation goals
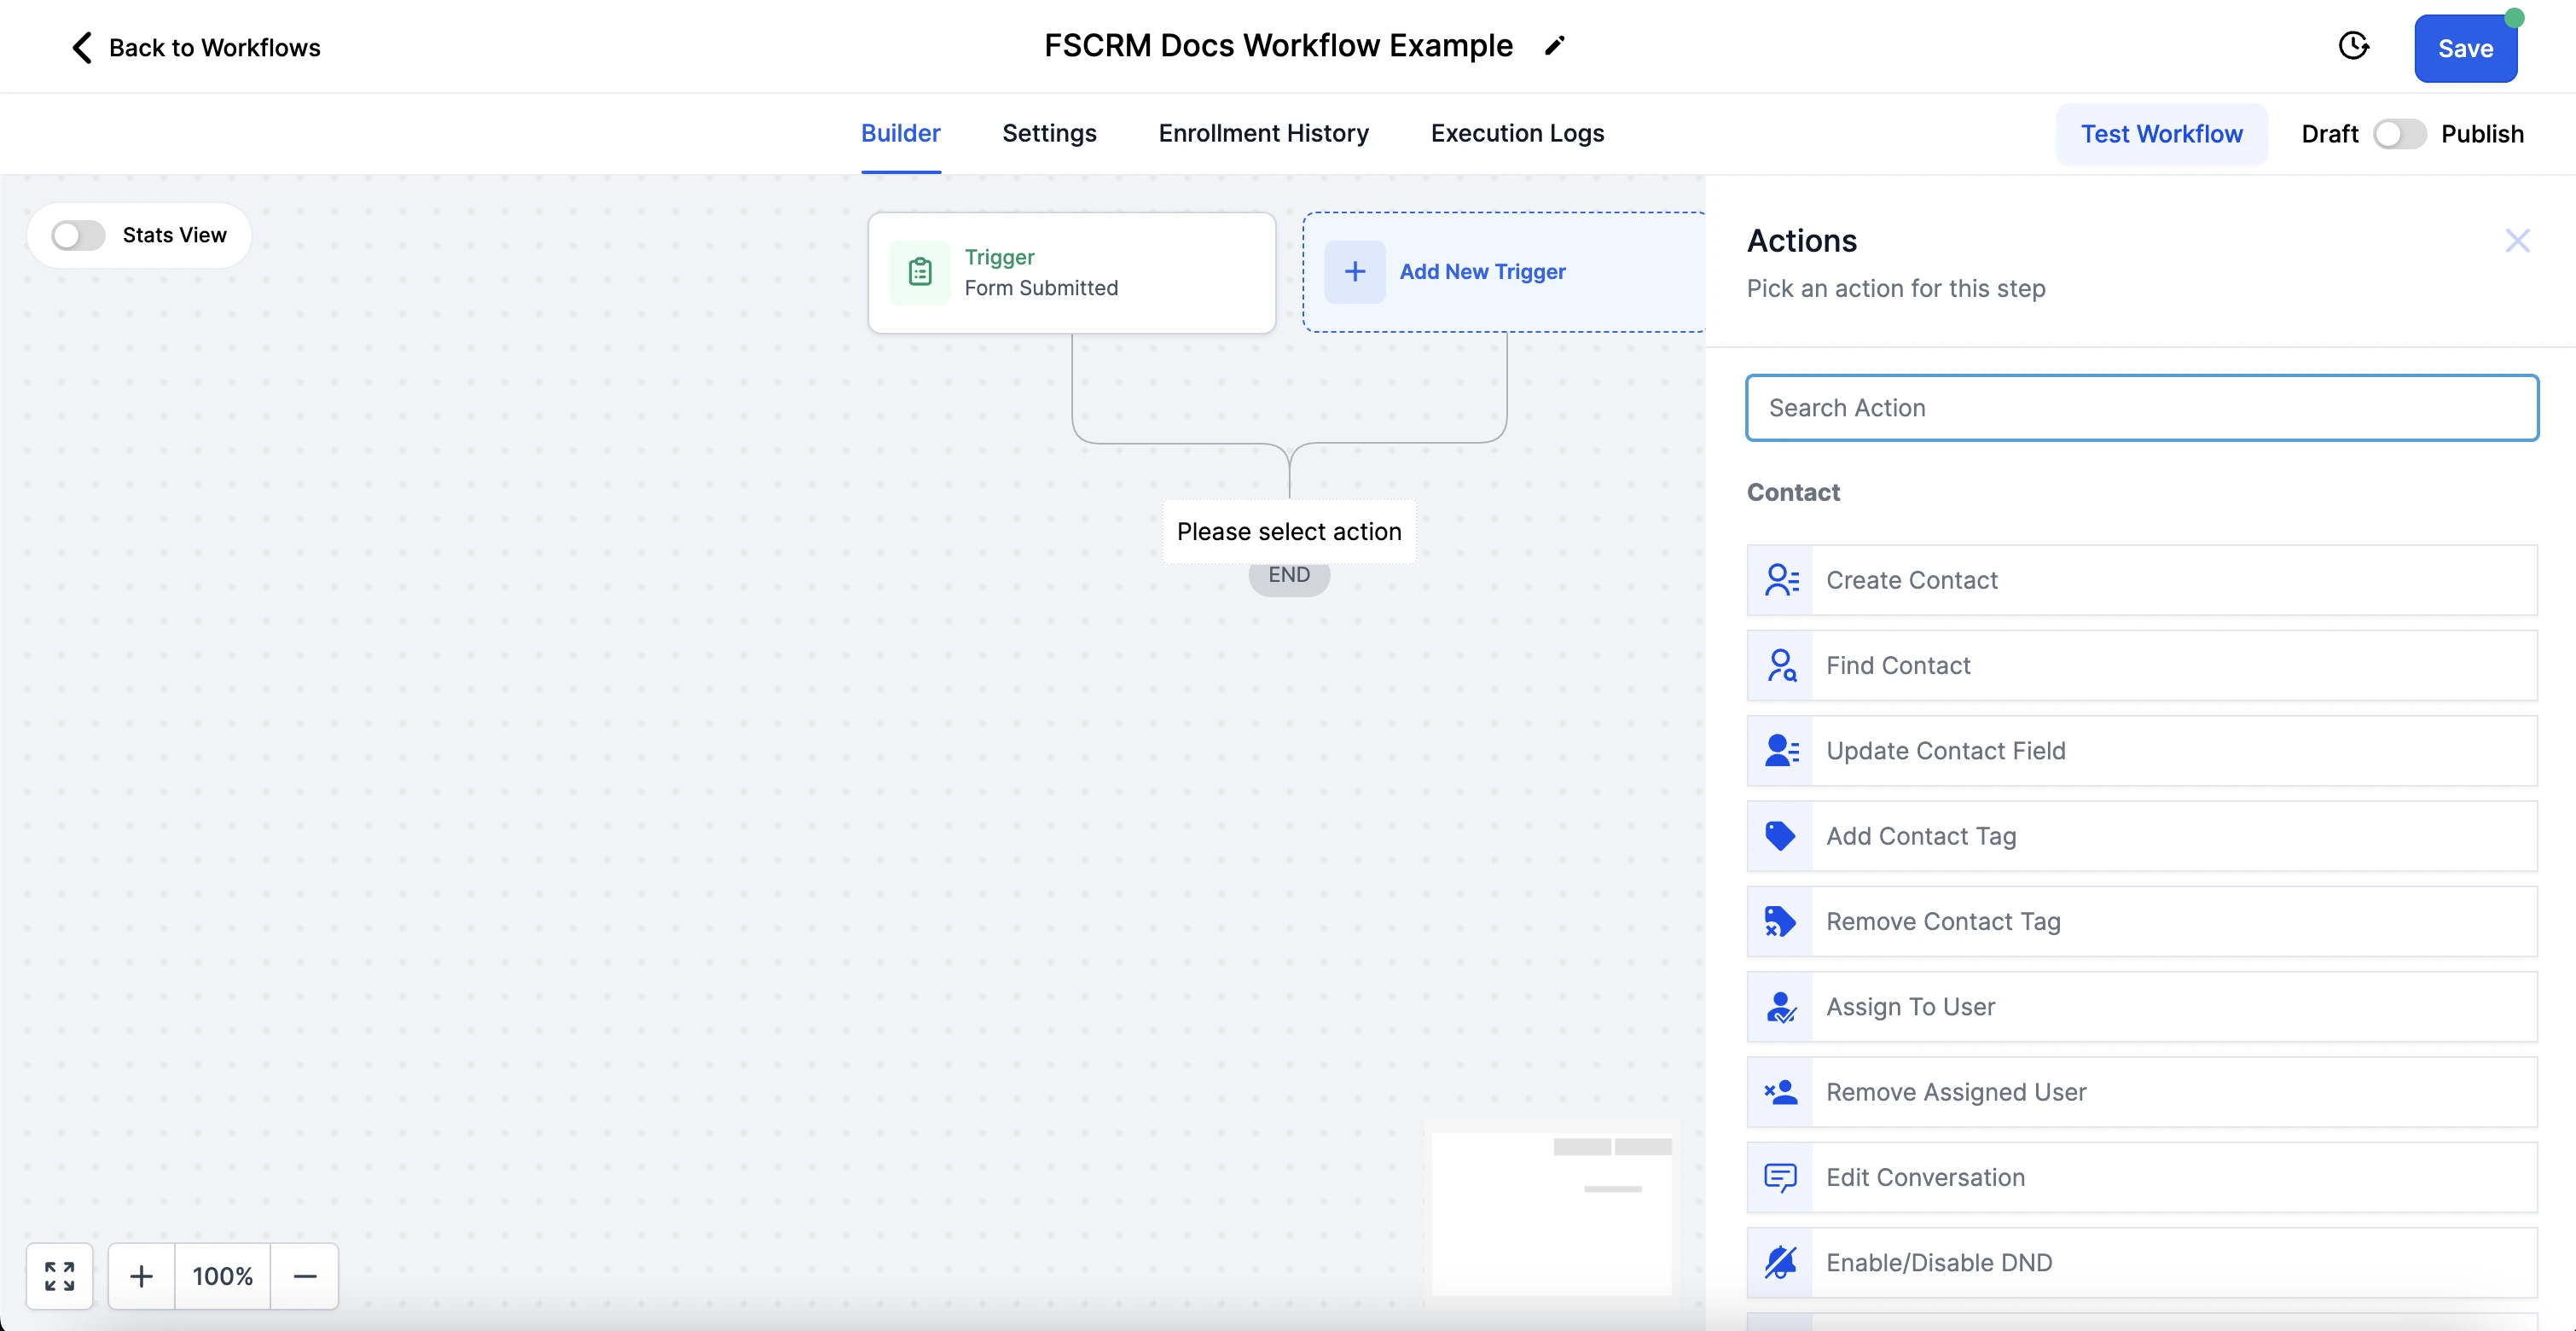
7. Create a Contact
Next, click the plus button below your trigger and select “Create Contact” to add a step that will automatically create a contact from the form submission.
Set the workflow to create a new contact
8. Link Form Fields to Contact Fields
Link the form fields to the corresponding contact fields within the CRM to ensure the right information is captured.
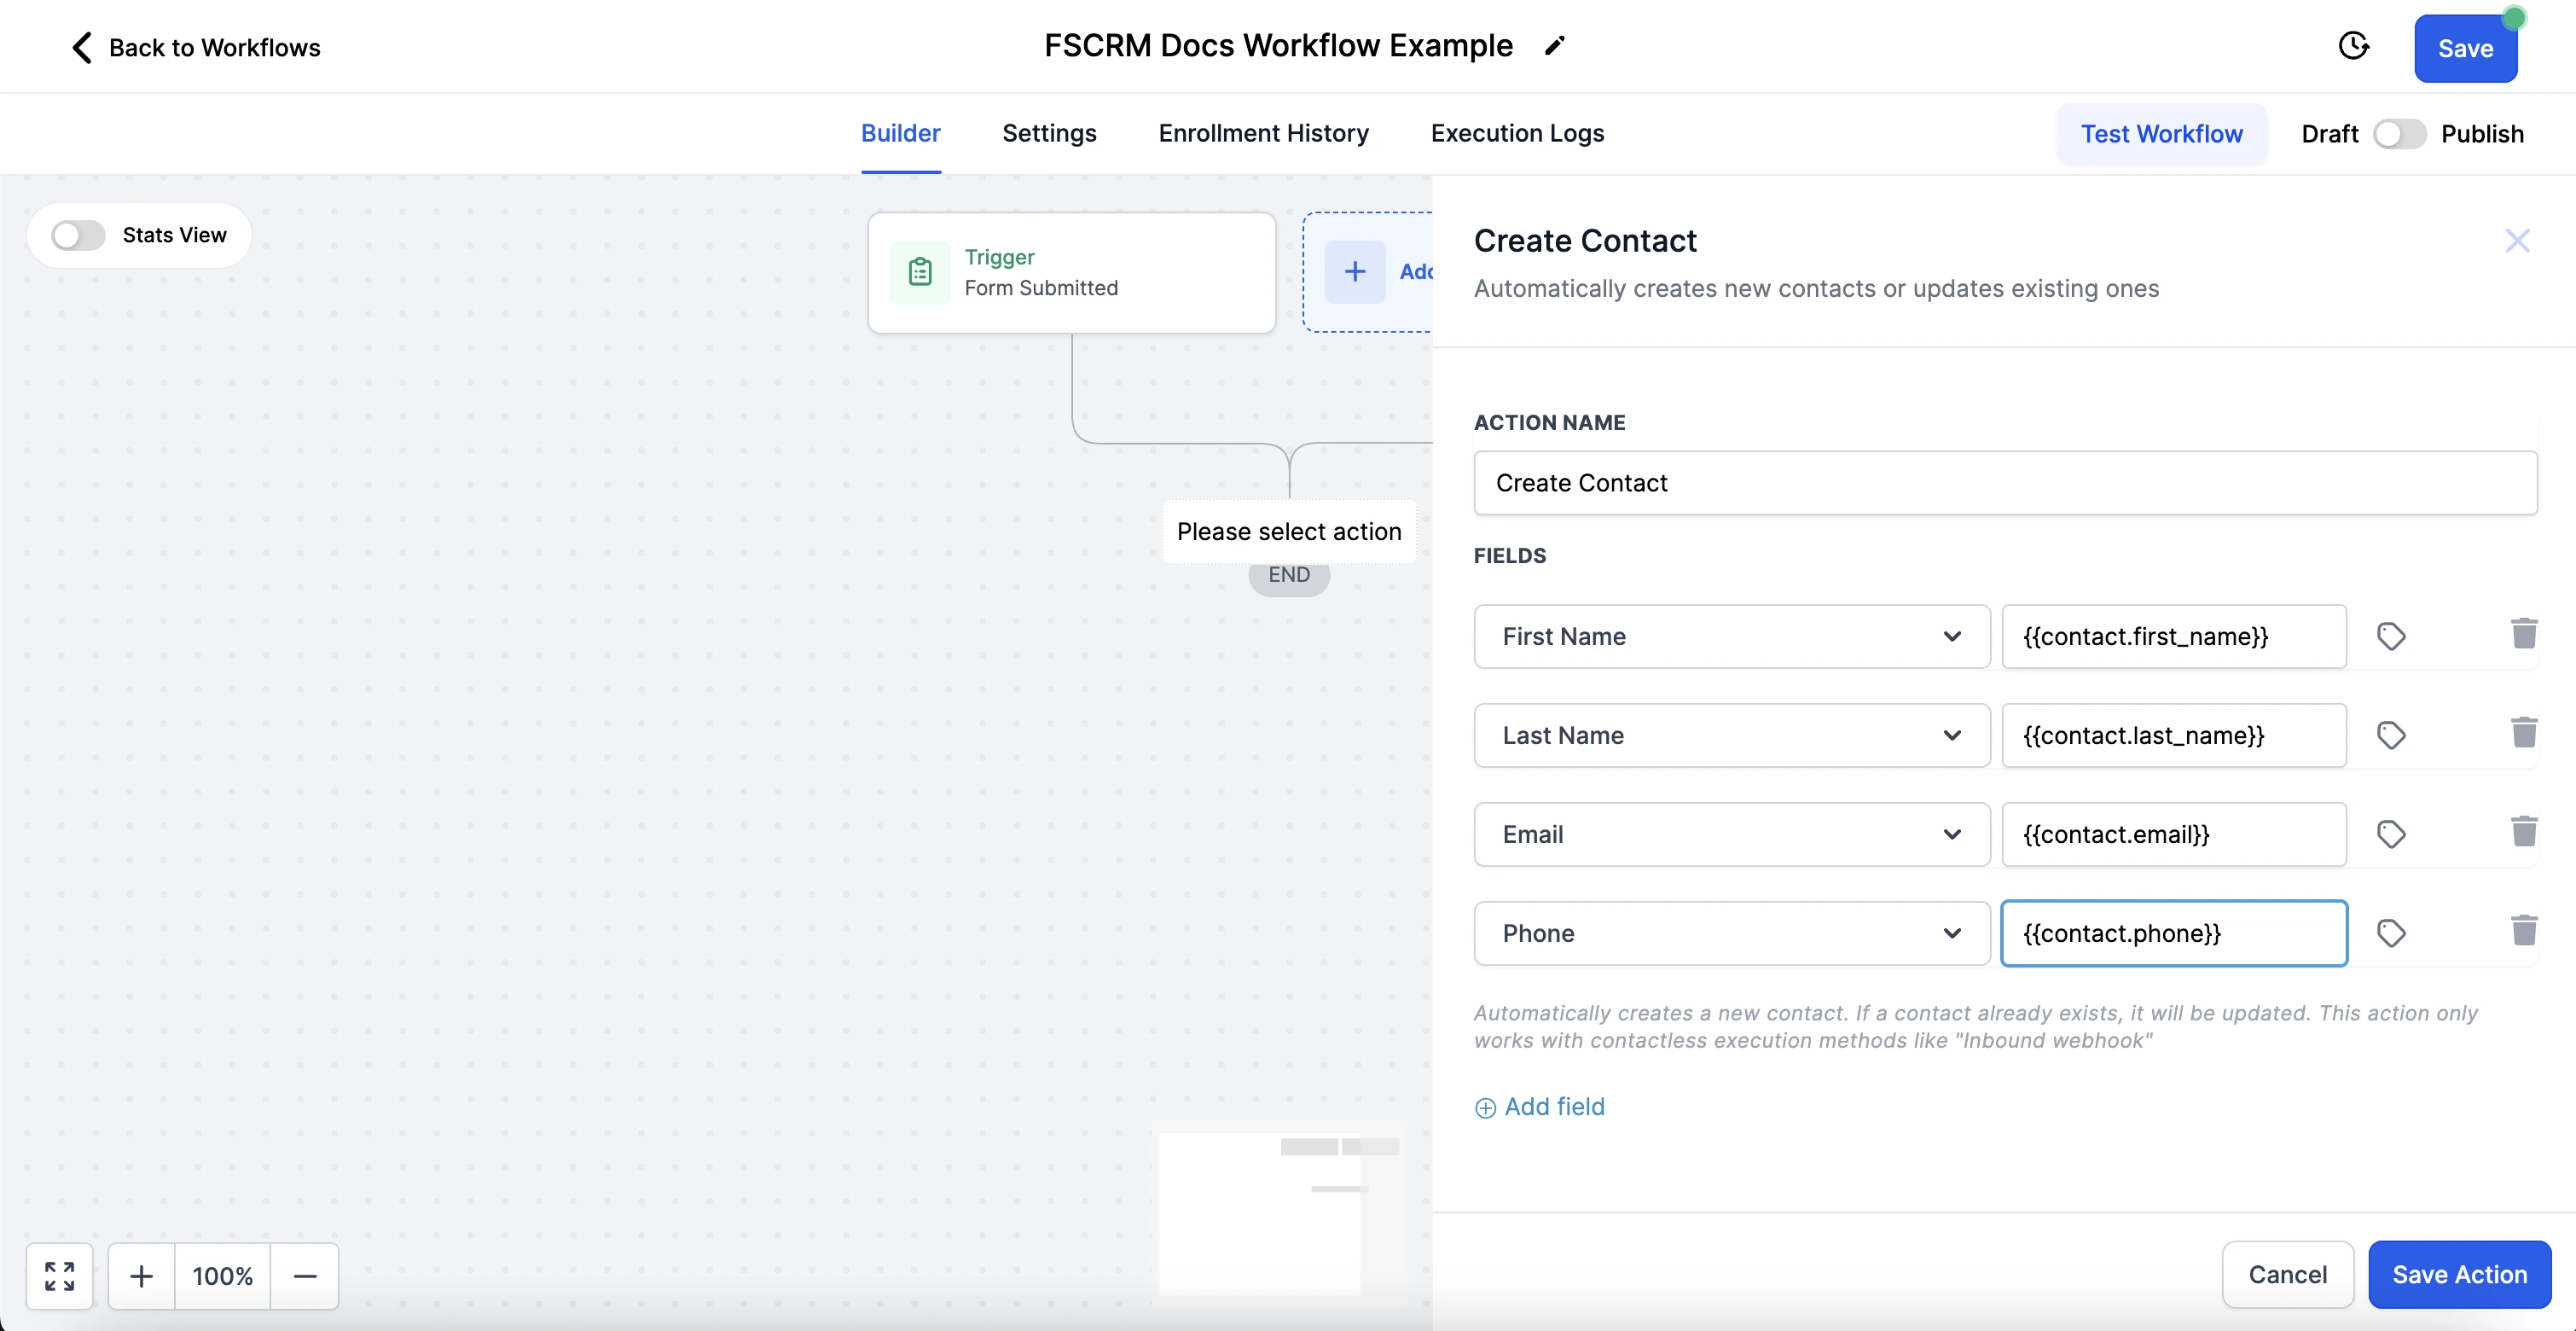
Map form fields to contact fields
9. Create an Opportunity
To track the progress of this lead, add a step to “Create/Update an Opportunity” based on the trigger.
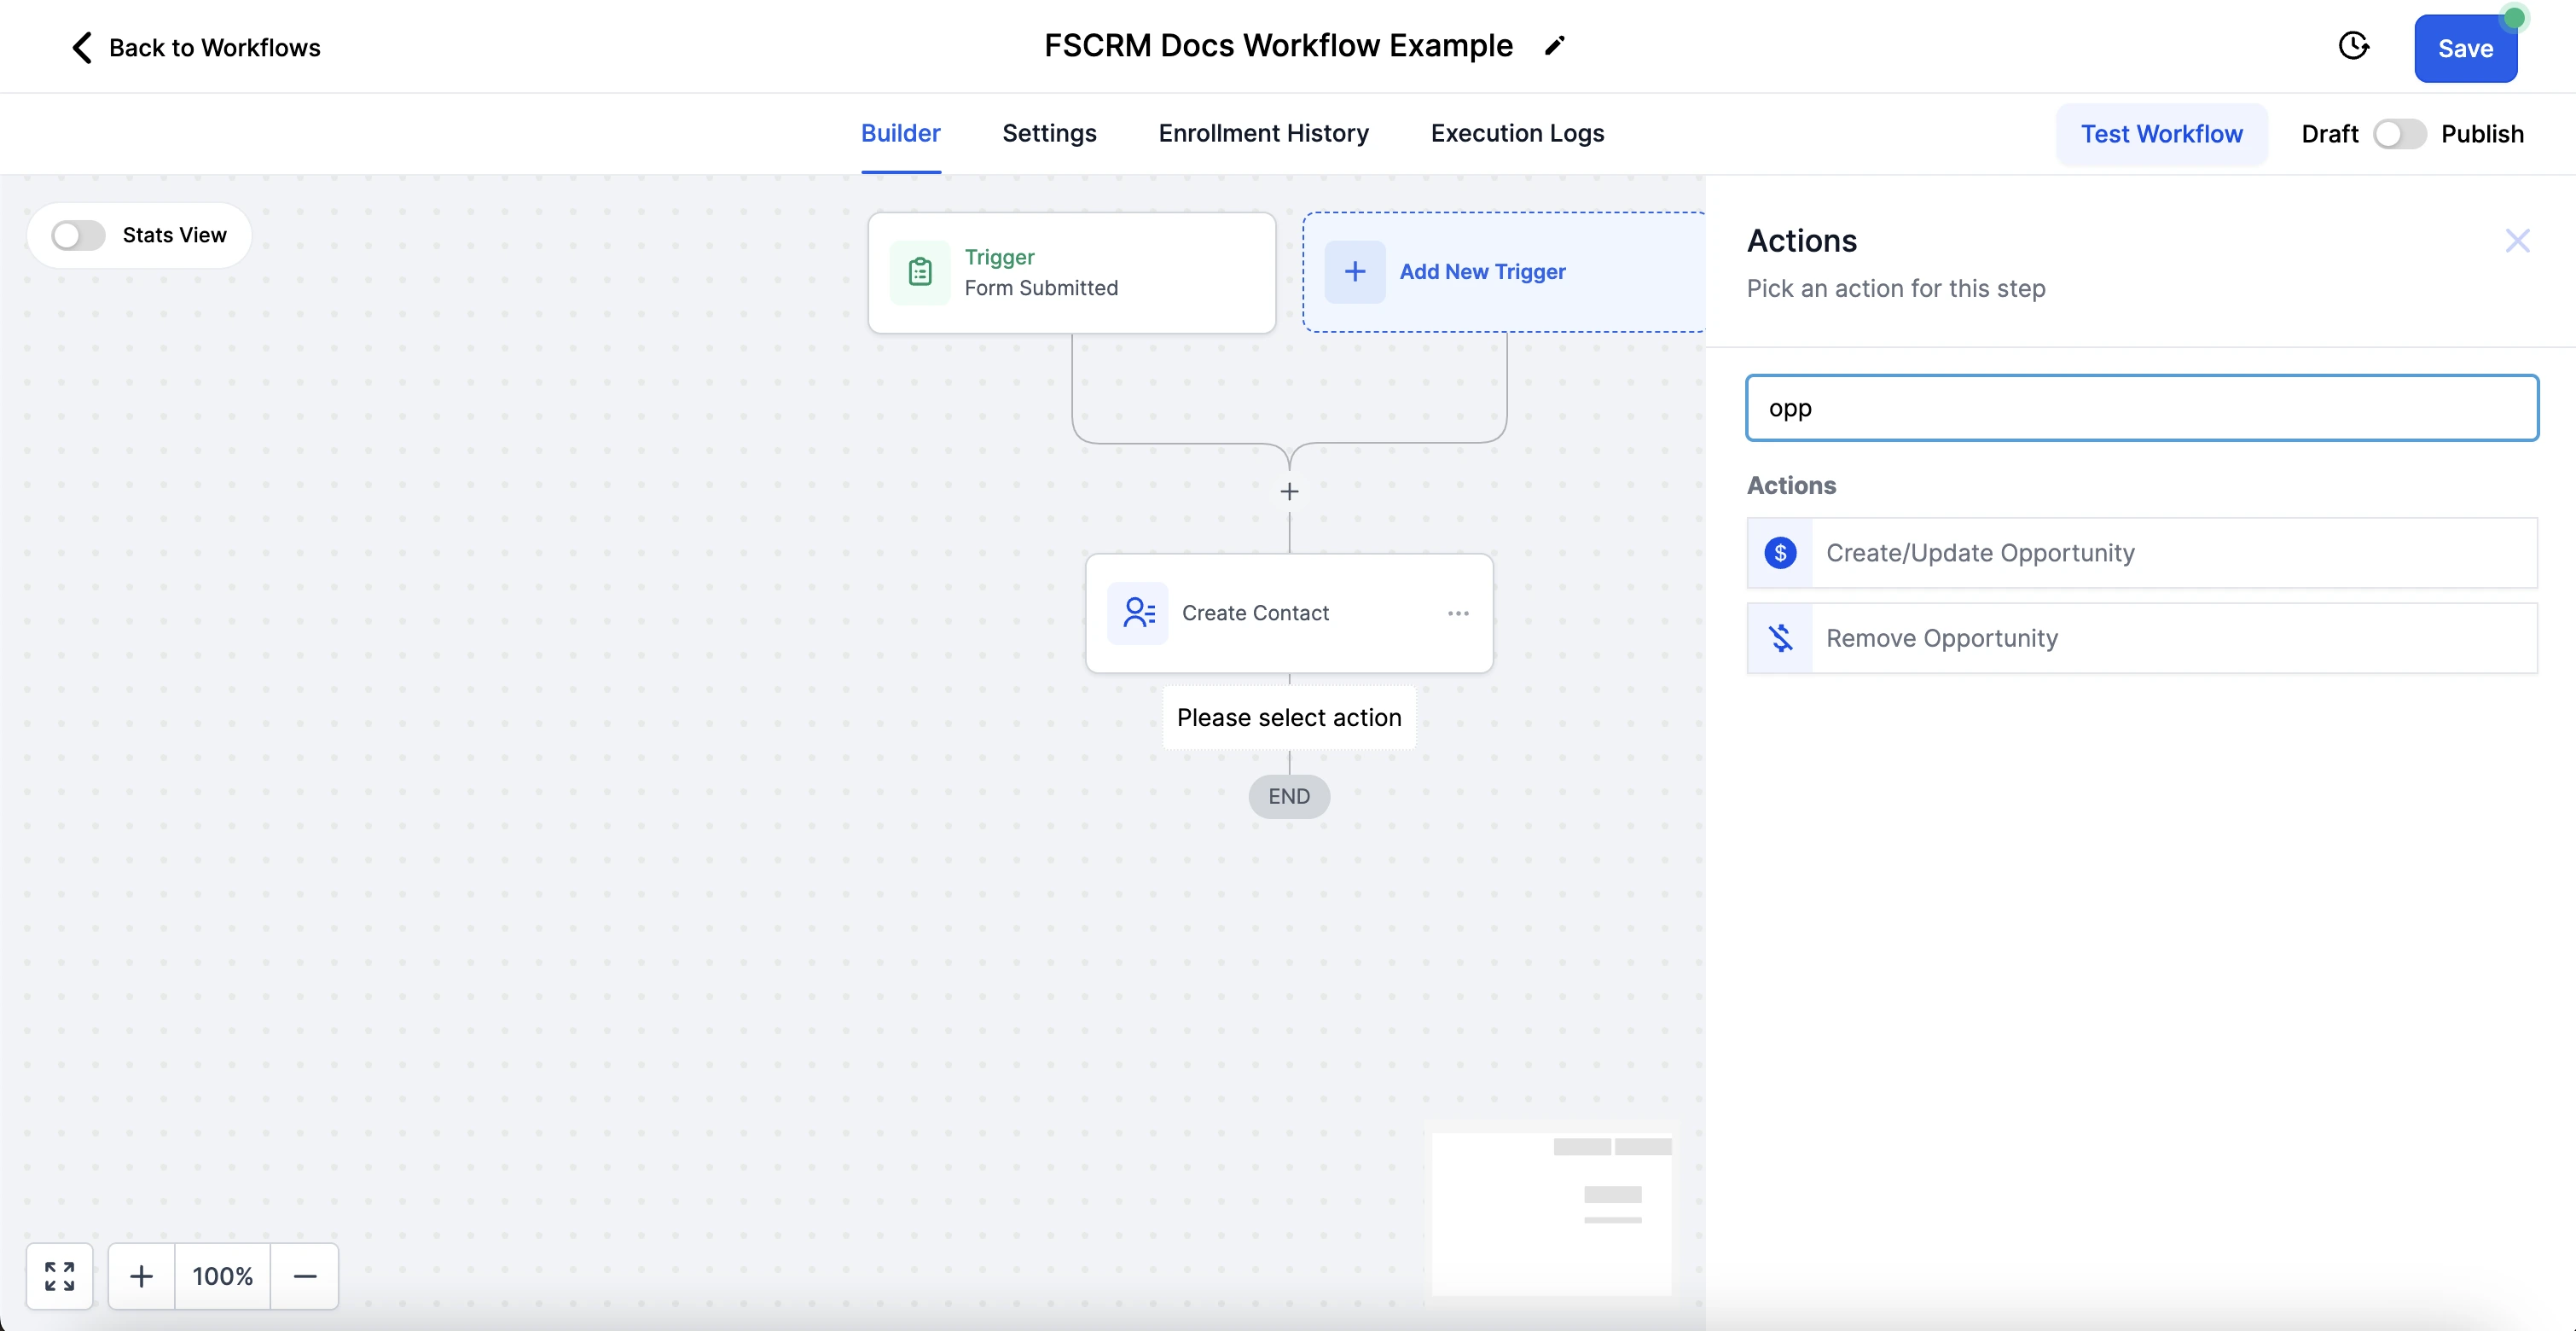
Add an opportunity creation step
10. Configure Opportunity Fields
Map the relevant fields to your opportunity settings, ensuring all necessary information is captured. Save your configurations.
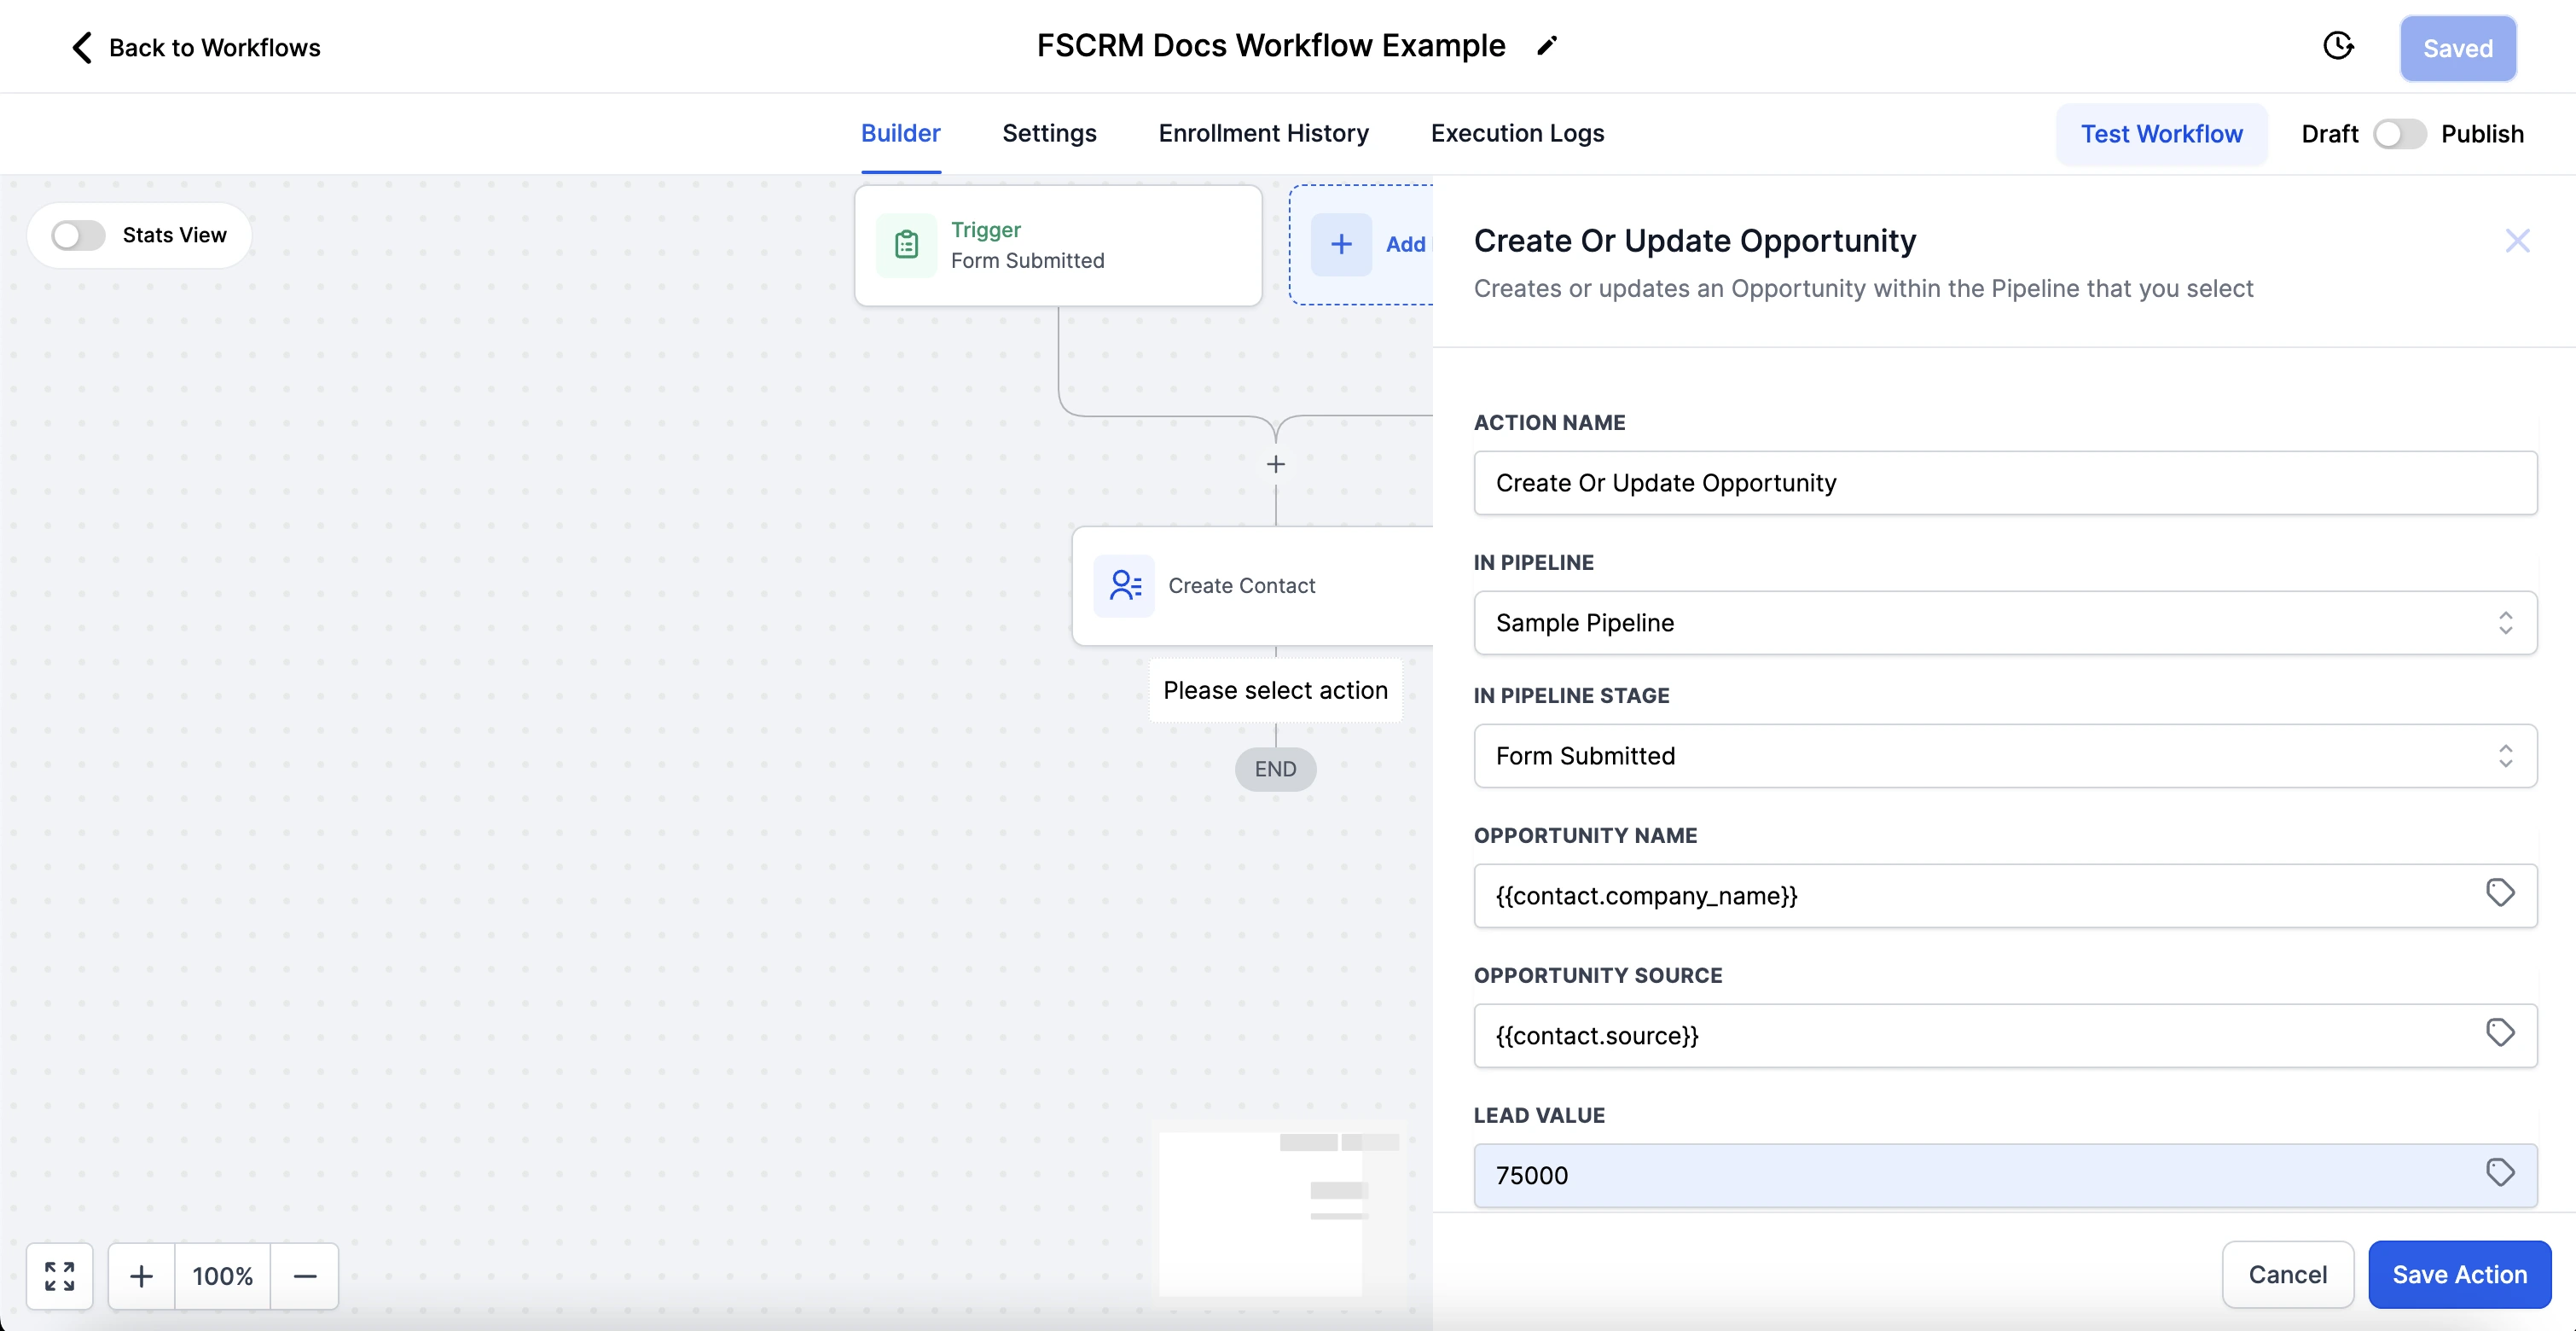
Set up the opportunity fields to match your criteria
11. Save and Publish Your Workflow
Once you’ve configured all the necessary steps, save your workflow. To activate it, switch the status to “Publish.” This will make the automation live and ready to work for you.
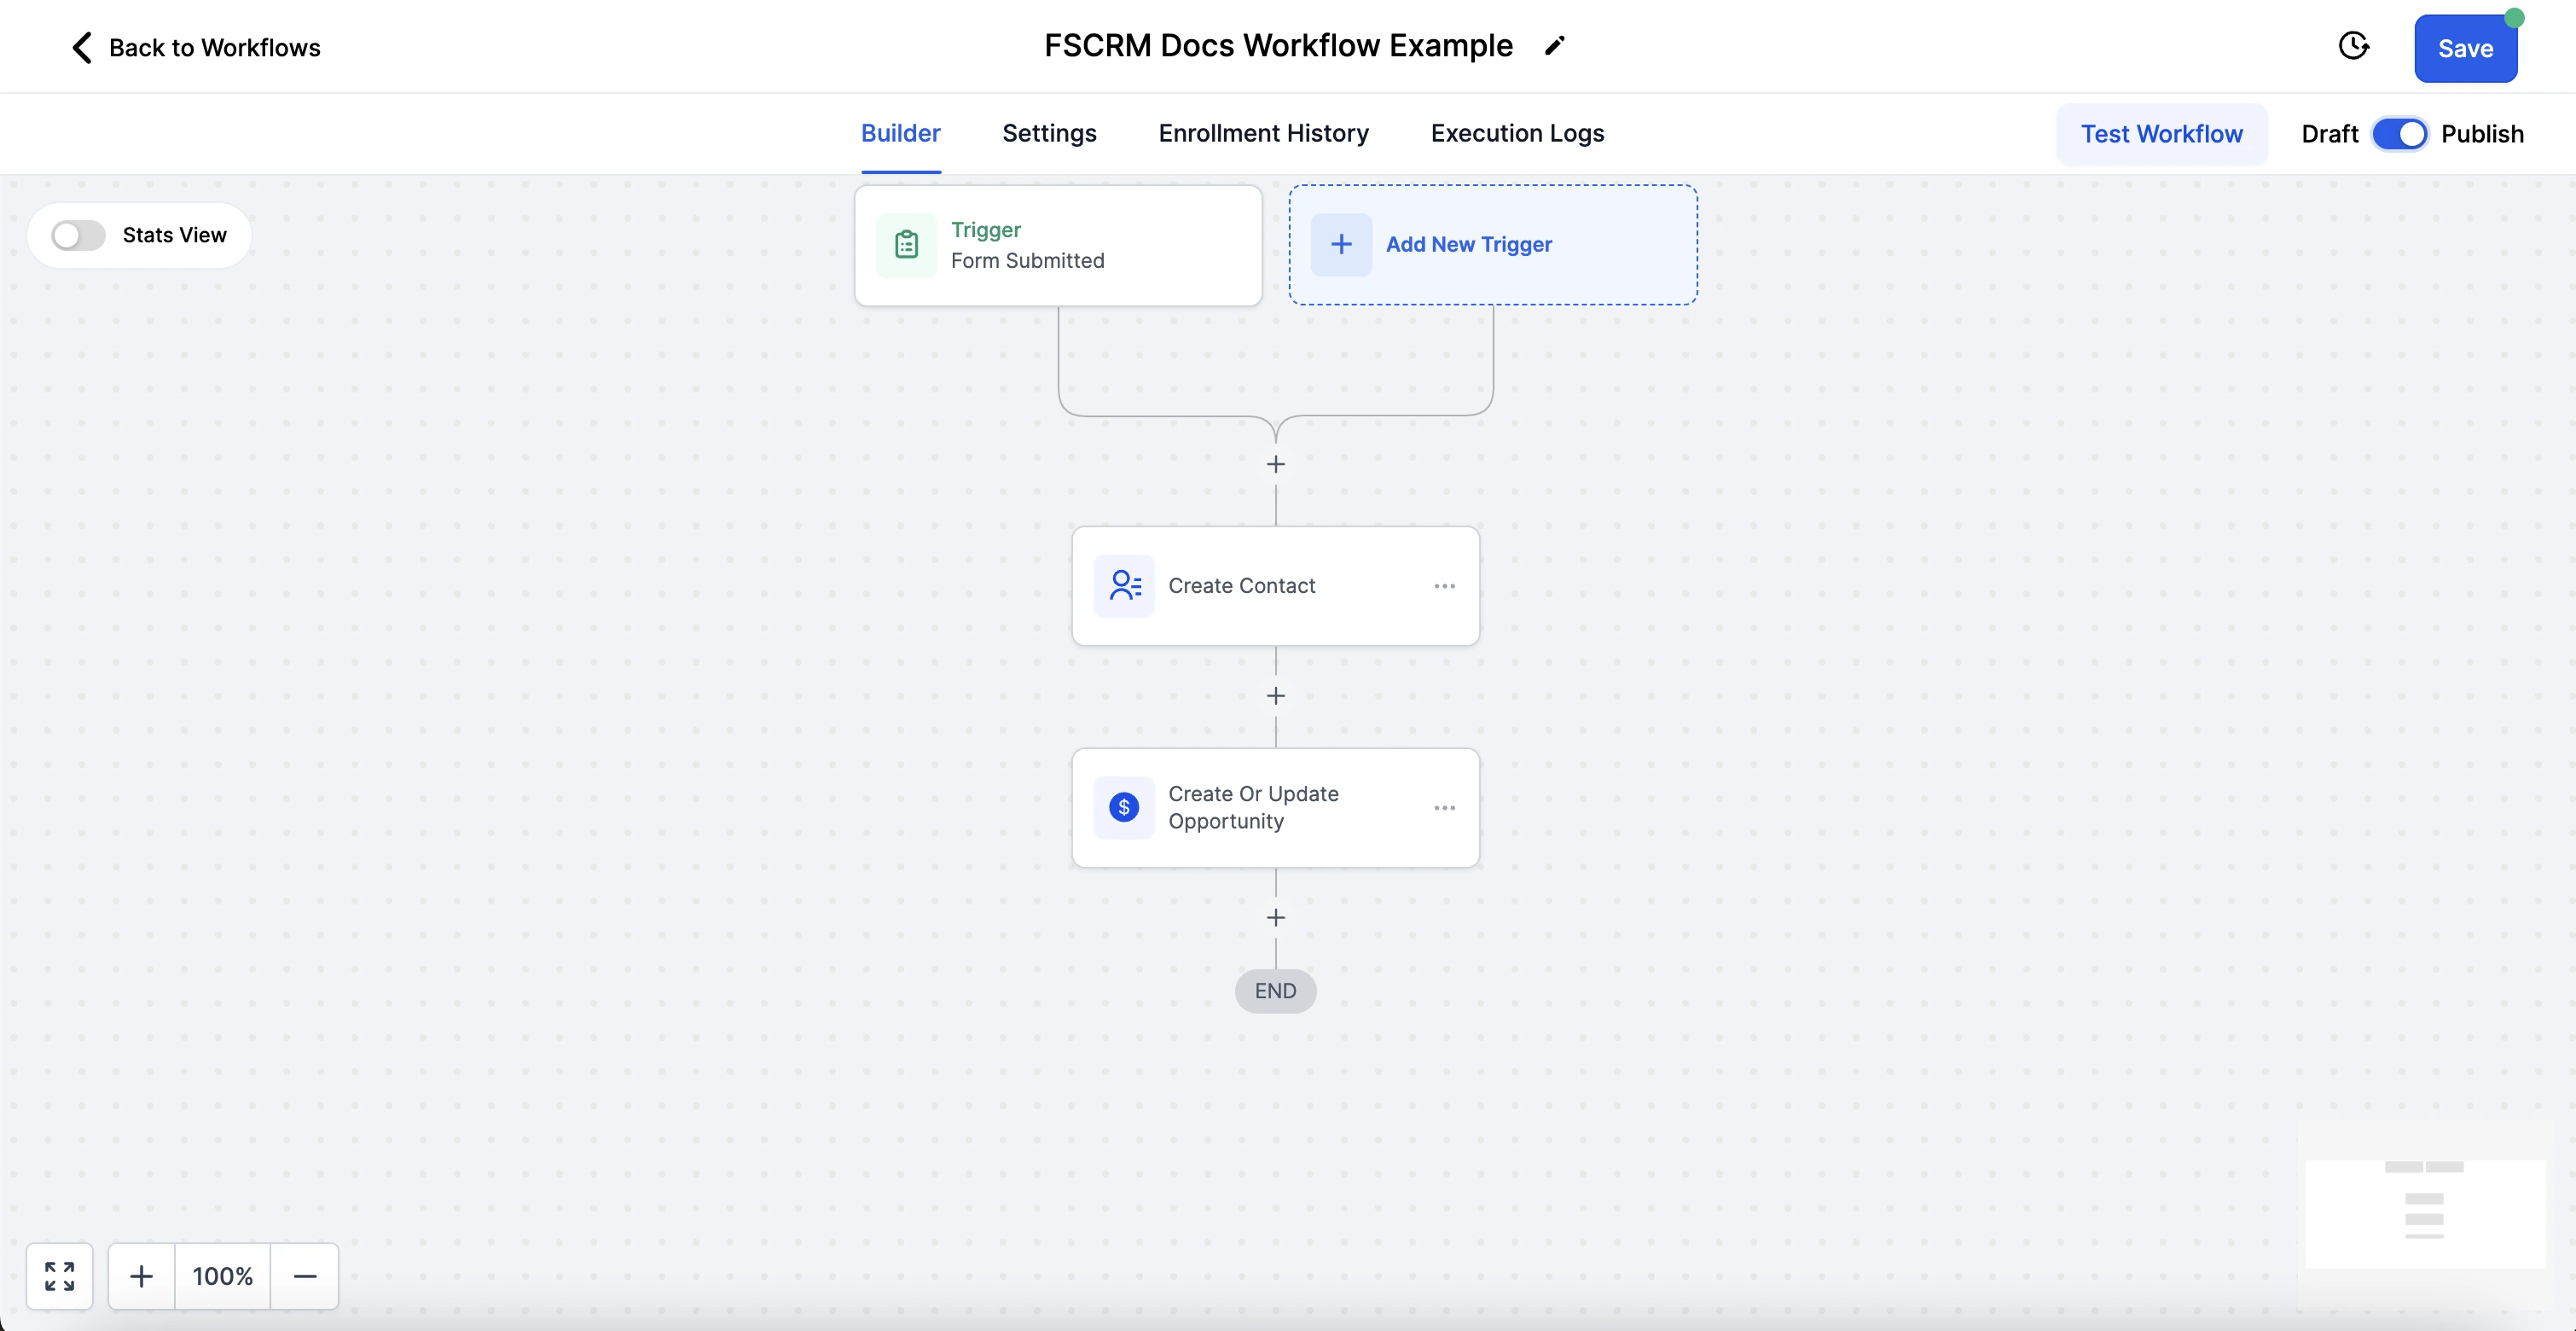
Save your work and publish the automation
By following these steps, you can efficiently set up automations in FSCRM to handle tasks such as creating contacts and opportunities, responding to form submissions, and more, ensuring that your workflow is smooth and consistent.